Your Cart is Empty
Are you looking to add a little customization to your groom's shirt? Or maybe you are the groom and wanting to add a personal touch to the cuffs of the shirt you will be wearing on your wedding day. Or maybe you are a bride and you are wearing a button down on your wedding day and you want to make it ultra personal with embroidery. No matter who you are, if you are looking to DIY the embroidery onto a button down shirt, you are in the right spot!
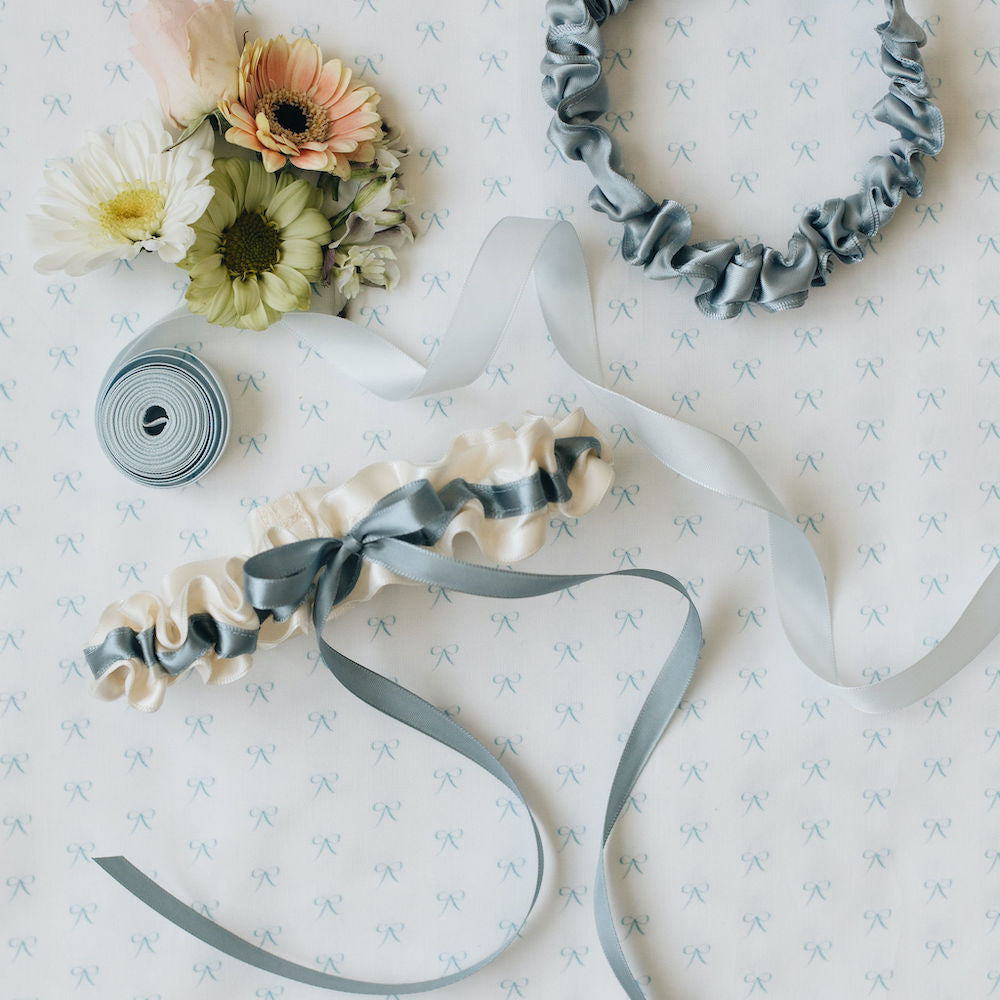
I have a super simple tutorial for how you can add embroidery onto the cuffs, collar or just about anywhere onto a men or women's button down shirt. I work in the wedding space hand making wedding garters, as you might know. I love to embroider the inside of my wedding garters with things like couple's initials and their wedding date, but there are so many other fun thing to embroider for your wedding day.
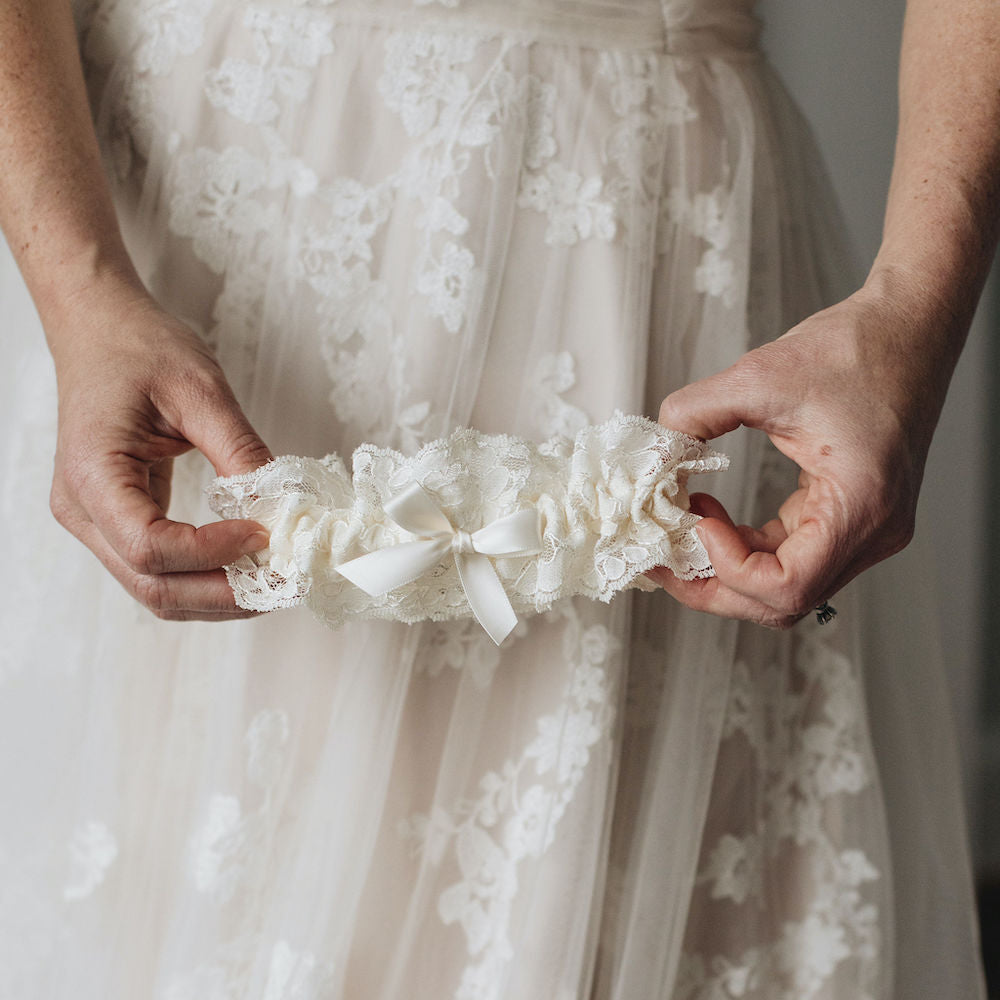
Adding embroidery to your wedding items, like your dress or shirt, makes it a special heirloom you'll love forever! (Check out this tutorial that I did on how to embroider or sew on the inside of your wedding dress!) I thought it would be fun to create this easy tutorial for those wondering how to easily personalize the groom's shirt. You can see more of my custom wedding garters in my shop and check out some of the embroidery that I've done on the inside of my bridal garter designs. Remember, you can shop my garter collection anytime on my site and add embroidery to any garter style!

I just love seeing pictures of the bride or groom on their wedding date with their shirt cuffs sticking out under the jacket and the shirt cuffs are personalized! I also love the pictures where they have their collar popped, getting ready and you can see that their shirt under the collar is personalized with the wedding date! Don't you?? Or am I just a big softie and a sucker for all things wedding heirloom?
The options for what to embroider on the brides' or groom's shirt are endless. You could do your initials, his monogram, your wedding date, a heart, the phrase "i do" – there are so many choices. My only advice is that it needs to be small. It is such a small space, so you want to keep that in mind and not go crazy with a huge design. Just something simple and sweet should do the trick! For this tutorial we did the couple's initials, "i do," and a heart.
The best part of this wedding DIY project is that it doesn't cost very much at all. One packet of embroidery floss, which is sold at just about any craft store or line, (Think JoAnn's, Michaels, A.C. Moore), is $1 or less!
This women's or men's button shirt embroidery tutorial is also good for those that think they can't even sew a button! I've had a few friends who claim they can't sew try my embroidery method and they did it! So, even if you think you can't sew, you can do this – trust me! You don't have to be a "sewer" to do this – you only need to make one! It isn't like you need to personalize the inside of 1,000 wedding dresses – you just need to make one, and that you can do!
And, if it doesn't work out or you run into any troubles embroidering the groom's shirt, send me an email at info@thegartergirl.com, I'm happy to walk you through it and answer any questions.


Photo Credit: Abby Jiu Photography
Step One
Type out on computer and print, or hand draw on a piece of paper with pencil the pattern or letter/number combination that you want. You will use this to trace onto the shirt. If you use a computer, you can choose different fonts that you love. Take your piece of paper with your pattern on it and place under the shirt where you want the embroidery to be. With your pencil, lightly trace over your pattern onto your shirt. Keep in mind that tracing only works if you are doing the embroidery on a thin piece of shirt material, like the pocket or under collar. If your are embroidering the cuff, it is thick so the tracing might not show through, and so you'll need to draw it free hand onto the shirt with a pencil. (You'll see why in a minute!)

Step Two
Cut a length of embroidery floss about 30 inches long. Once piece of floss is actually made of several smaller/thinner pieces. I like to use just two of these small pieces of floss for my embroidery. The more pieces you use, the thicker your design will be. Pull the pieces apart slowly so that they don't tangle. (Tip: While sitting down, I hold the one end of floss between my knees and separate with my hands the other end. This keeps its from knotting up like ball.)

Step Three
Time to thread your needle. Hold your two (or more) strands of floss together and put them through the eye of your sewing needle. The "eye" is the loop on the opposite end of the pointy end of the needle. (Tip: Moisten your strands and slightly trim them at an angle to make a point. This will help it go through the eye more easily.) Pull the strand about a quarter of the way through the eye and let it hang. On the long end of the floss hanging from the eye, tie a knot.

Step Four
Place the shirt in your lap with the right side facing you with the pencil pattern right in front of you. (Tip: The "right side" is the side that you want to see when it is finished. The "wrong side" is the backside of the side of the fabric that no one will see.) Put your needle with the floss on it underneath your shirt (going from wrong to right side) and place the pointy tip of the needle at the spot where your pencil mark starts. Pull the needle through the shirt at this starting point. Gently pull your needle with the floss through the shirt until the knot catches and you can't pull itanymore.

Step Five
Use the pencil markings as your guide and sew right over the pencil marks. If you made the pencil marks light enough, you won't see the marks when you are done.
Now, place your needle 1/8th an inch past the point where the floss came through from the wrong side. This is your starting point. Push the needle through the shirt slightly and pop it back through the shirt just before the starting point. It helps to use your opposite hand's thumb as a guide. Gently pull the floss until it catches and you can't pull anymore. Don't pull it too tight.
Repeat this method by putting your needle 1/8th of an inch father up the pencil mark and pop it through the shirt right at the point where the last stitch ended. (Tip: This is called the "running stitch" in embroidery terms. You can look that up on You Tube or Google for tons of tutorials. Sometimes it is easier to watch a video than read instructions!) Repeat these tiny stitches all across the pencil marks until the end.

Step Six
When you get to a sharp corner, push your needle down through the shirt to the wrong side, as if you are starting again from the beginning. Then bring the needle back up through to the right side of the shirt at the point that you want to start a new angle. Continue the "running stitch" down your pencil marks in the other direction.

Step Seven
When you are finished and you've reached the end of your pencil marks, push your needle down through the shirt to the wrong side. Turn the shirt over so that you are looking at the wrong side. Pull your needle off of the floss and set it aside, you are finished with the needle. Gently tie the floss strands into a knot and trim the ends, leaving about a 1-inch tail.


********
So, what do you think? Will you do it? Will you embroider the groom's shirt? Maybe add the wedding date and a heart to the cuffs? There are so many ways to personalize the the groom's shirt on his wedding date and turn it into a wedding heirloom you'll cherish forever!
For more wedding ideas and inspiration, or DIY wedding tutorials be sure to check out my blog and remember that you can shop for a wedding garter anytime on my site. You can also email me at info@thegartergirl.com – I'd love to work with you to custom design the most perfect wedding garter heirloom that you'll love forever!
The photos in this post are credited to Abby Jiu Photography.