Your Cart is Empty
Where are my flower lovers? My ultra feminine brides-to-be that just love all things flowers!? I have the best wedding DIY project for you – complete with beautiful pictures and pretty pictures! The best part about this technique for how to make a wedding garter is that it doesn't require you to sew! Truly, anyone can make this wedding garter DIY project!

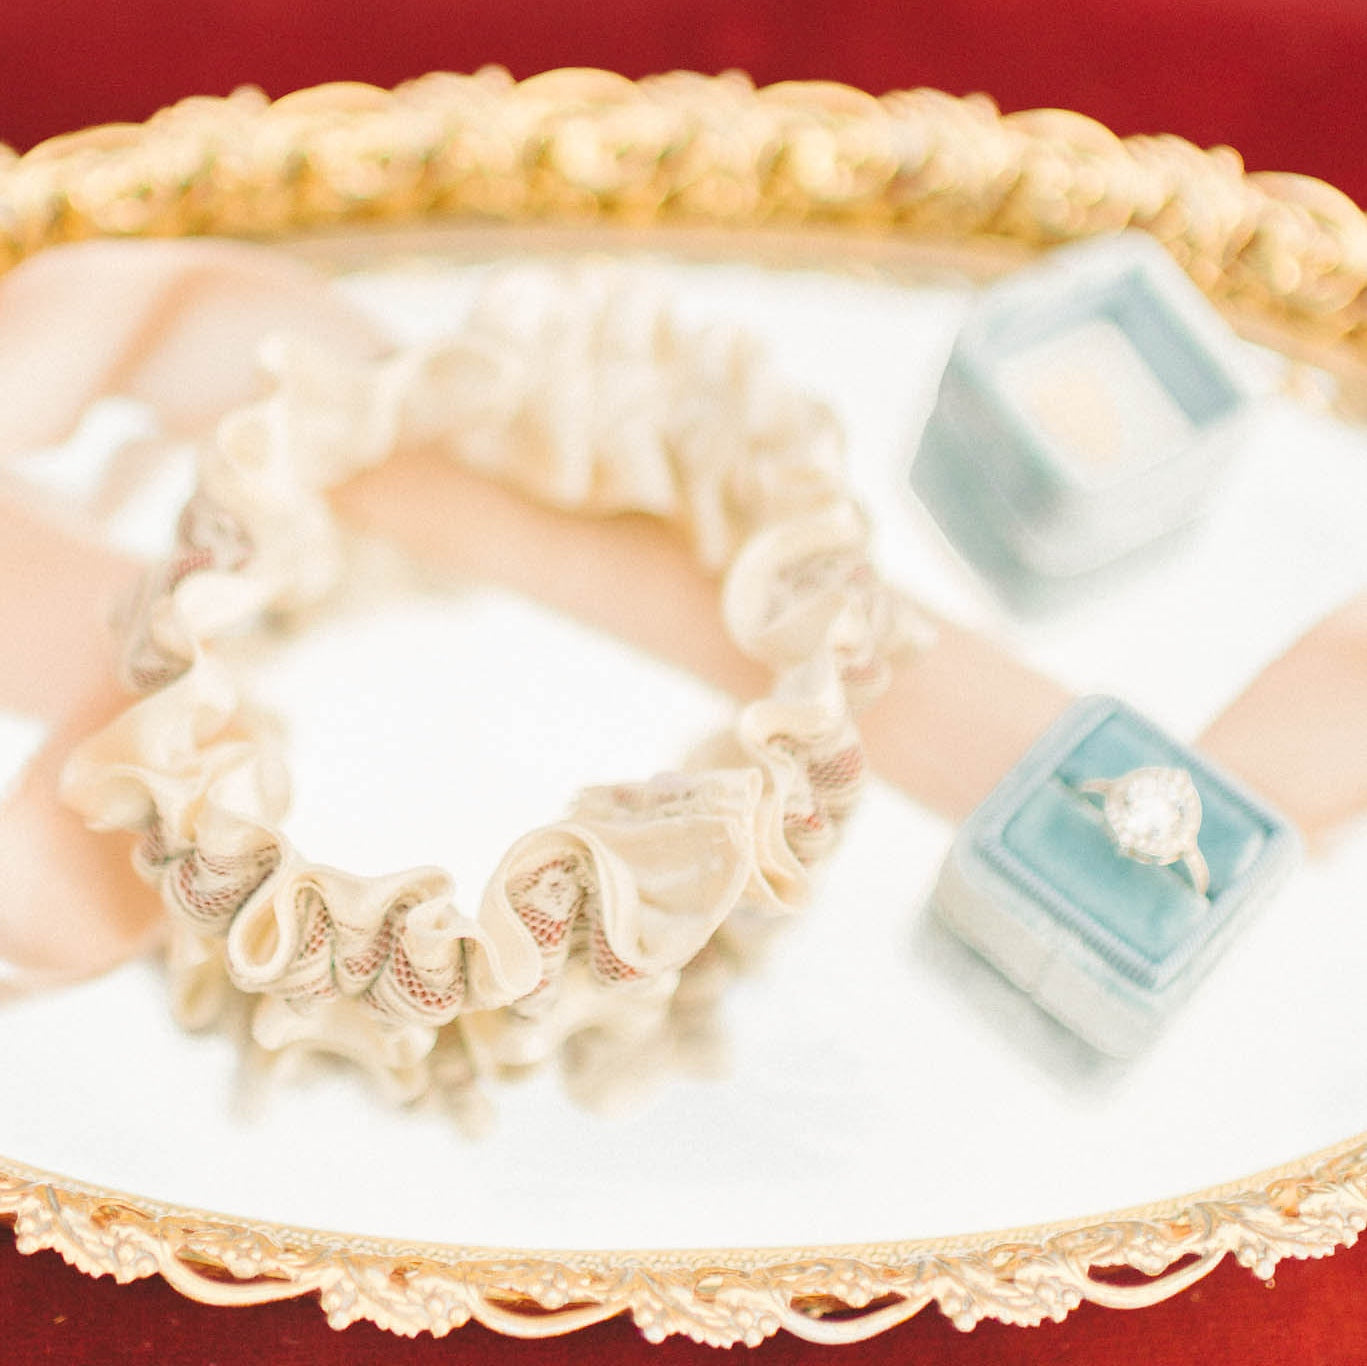
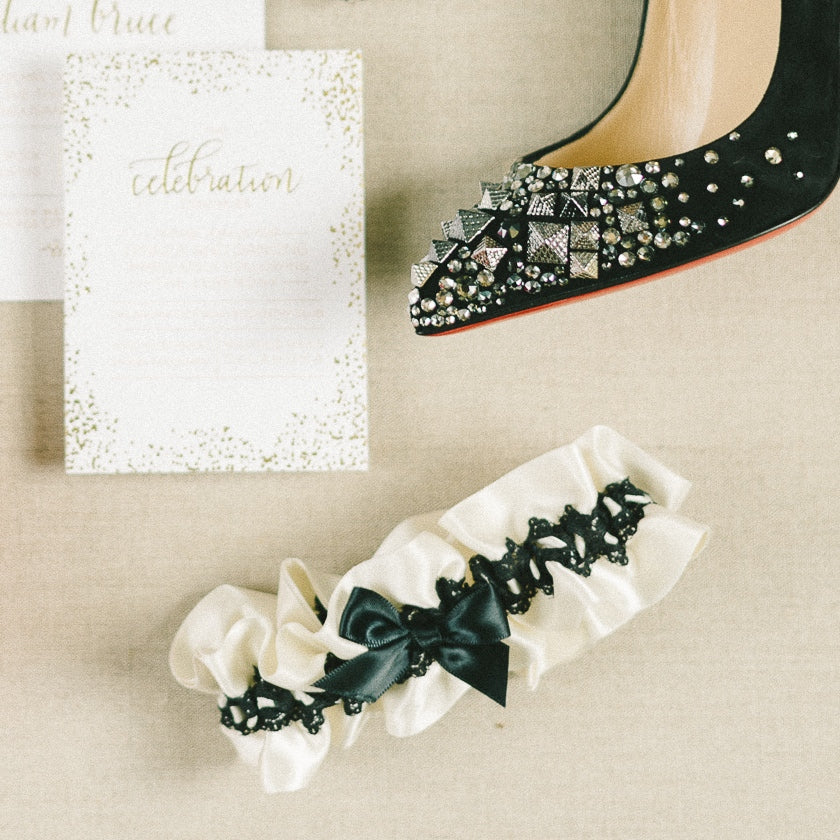
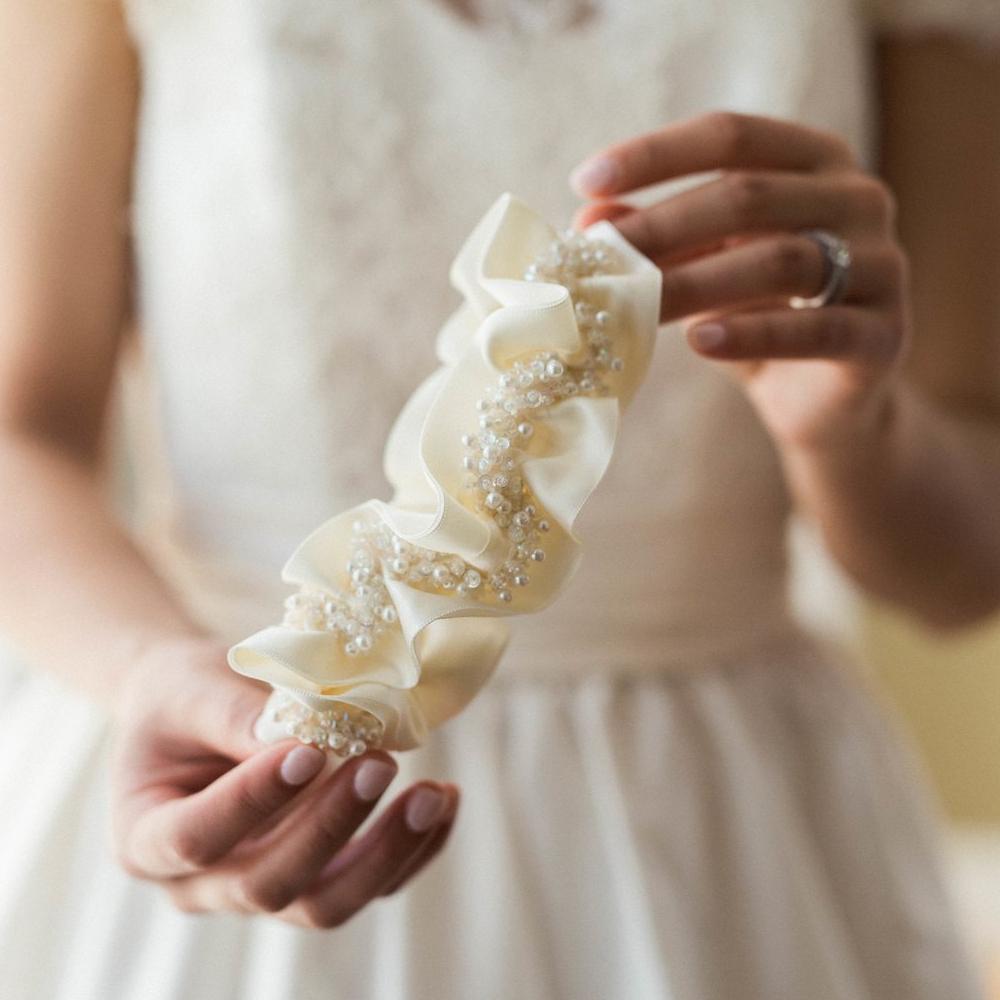
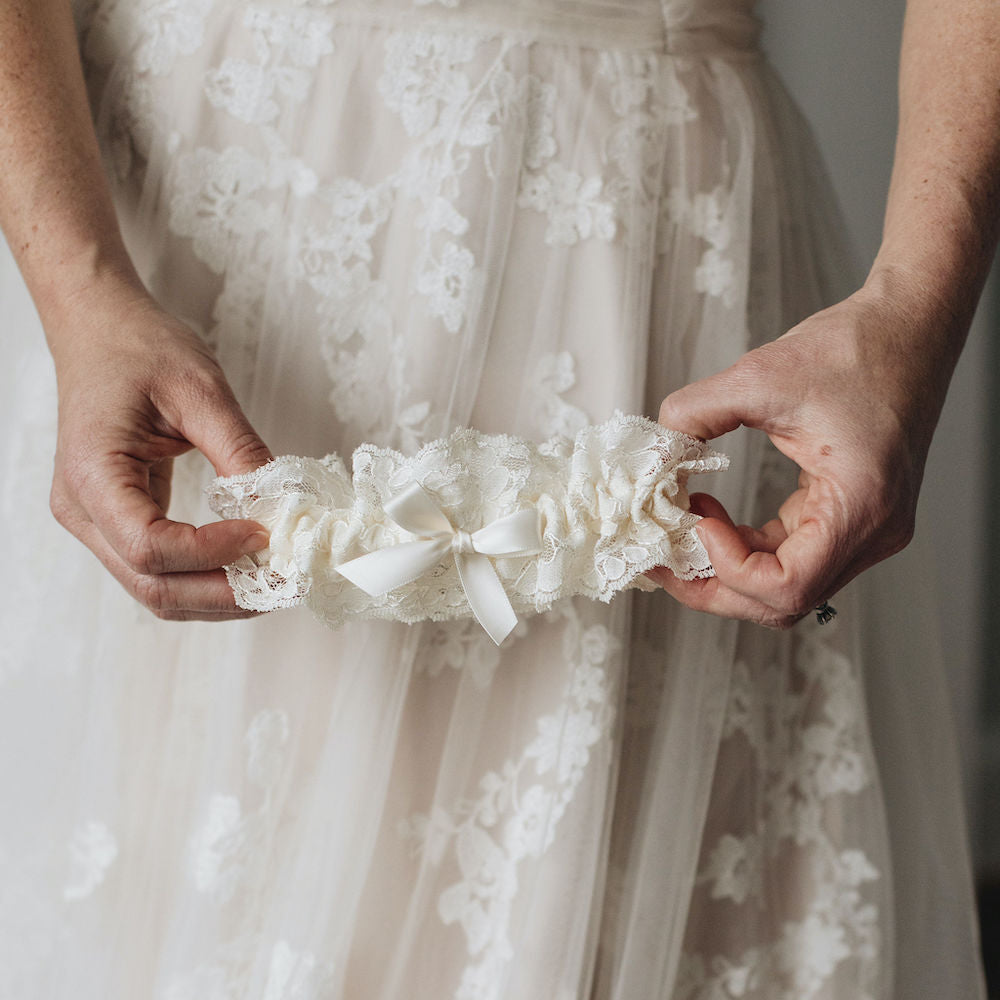
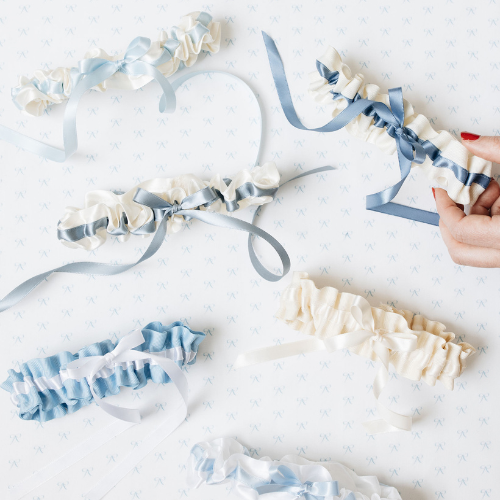
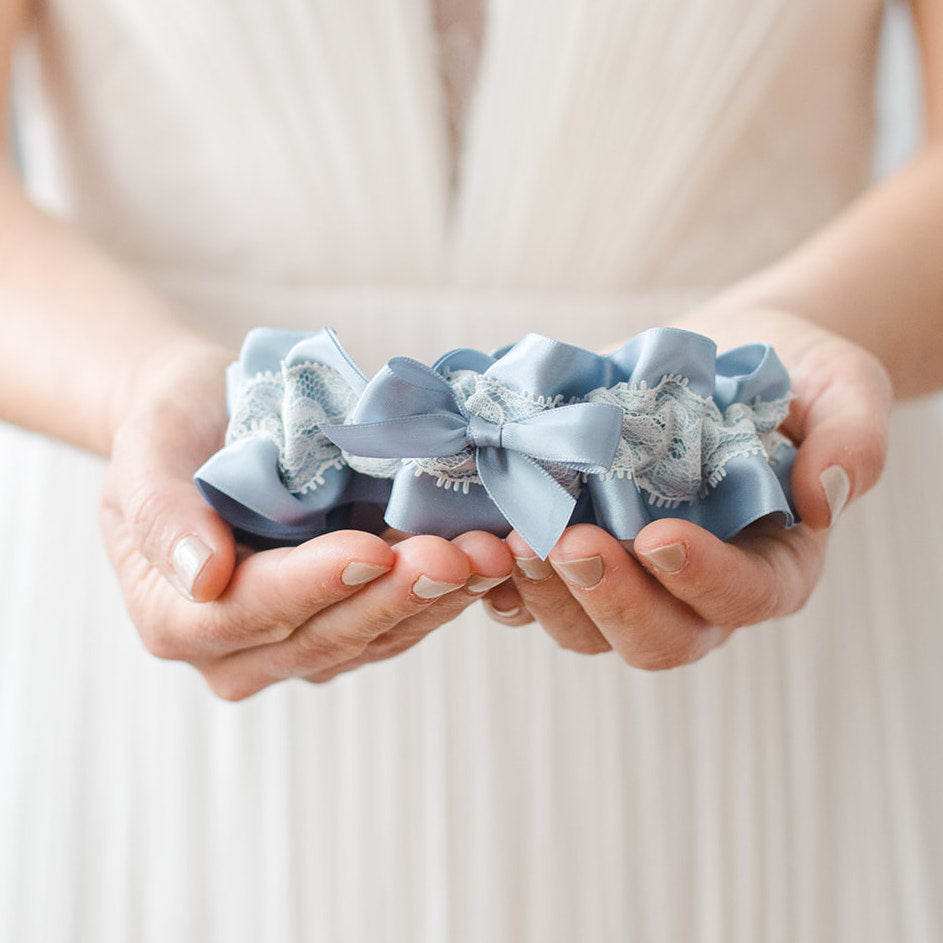
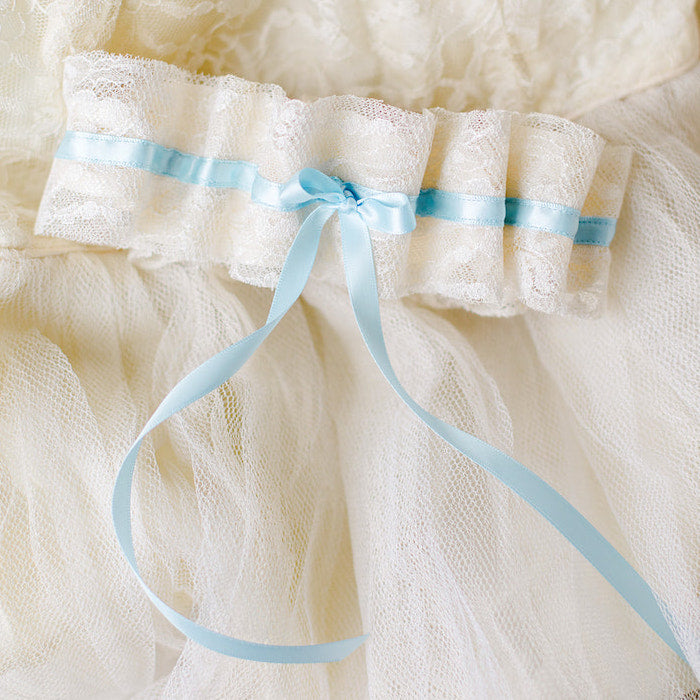
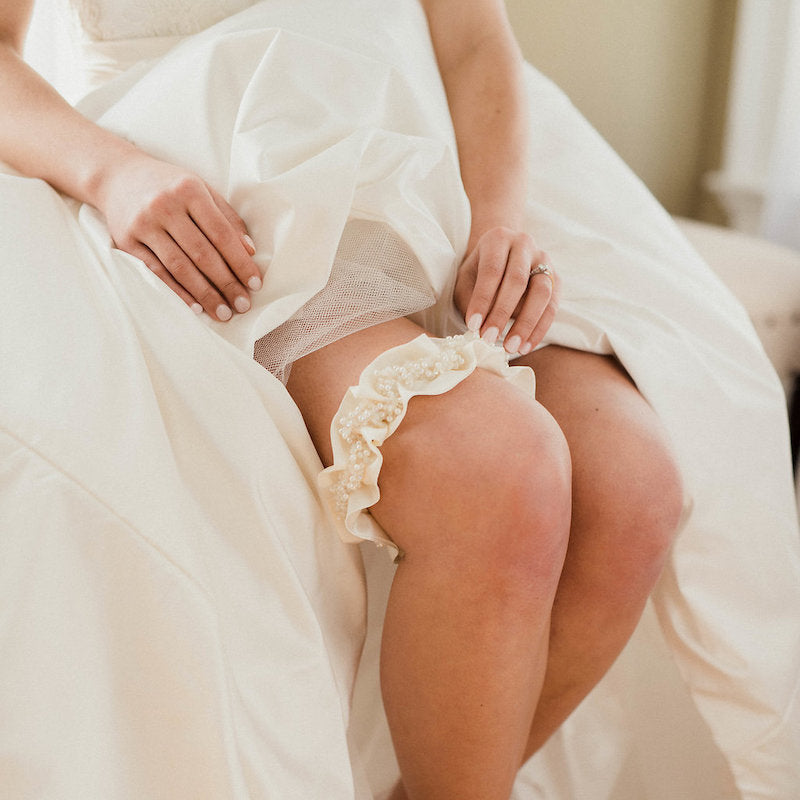
You know that I love hand making wedding garter heirlooms – you know, the kind that will make you cry, that you'll love forever!? If you are interested in that, please don't hesitate to reach out with an email at info@thegartergirl.com to discuss a custom wedding garter design. Or, you can shop my wedding garter collection right now to find the perfect wedding heirloom.
Or, the final option is that you can grab a few of your best girlfriends (I mean, bridesmaids!) together and follow these super simple instructions for how to make a wedding garter using fresh flowers. This is a fun project that you can do together over a glass of wine, you could do it at a bridal shower just for fun, or you could do it as a group on the morning of your wedding. So many options, so many flowers, so little time!
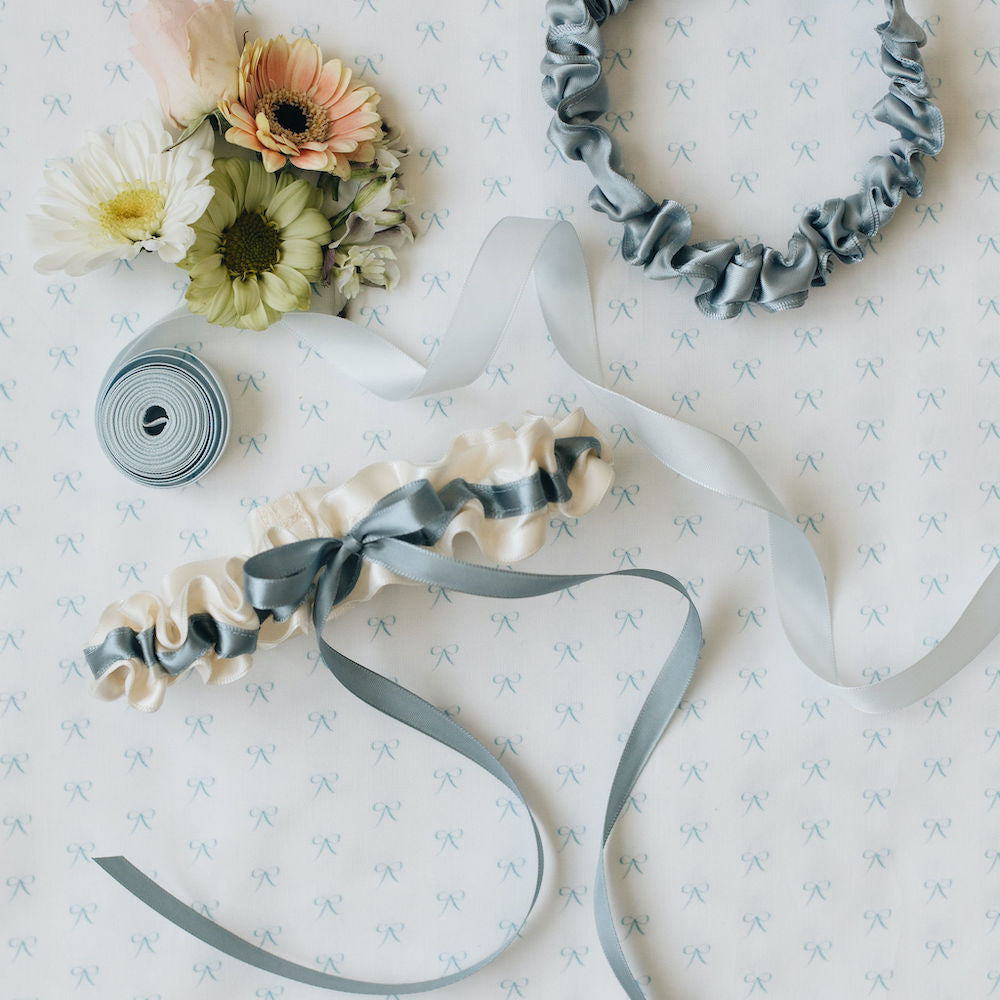
Before we get started with the directions (You'll have to scroll down for those!) I have some gorgeous and I mean gorgeous pictures of the fresh flower wedding garters that we took. You are going to love these! And, it will be great inspiration for your DIY wedding garter party of your own!


Prep: Heat up your glue gun. Trim your flowers from their stems with the scissors. Cut as close as you can to the base of the flower and the stem so that very little of the stem is left on the flower. The petals might start to fall off, that is OK. You might need to lay your flowers out to dry here, especially if they were just watered or refrigerated.
Lay It Out. Begin to try different layouts and designs with your flowers. Fold the garter base ribbon in half and the middle is where you'll begin to do your design. Maybe start with your favorite flower in the middle and move out from there. Place greenery on the bottom as the base. It is a such a small area, so less is more. Plus, you don't want your garter to be too heavy.
Glue It Up. Once you have a design that you love, remove all of the sample pieces from the layout. Begin with the bottom most piece and begin to glue onto the base. Start with a small amount of glue and add more as needed. Begin to use the glue to layer the pieces on top of each other in the pattern that you like.
Let It Dry. Once you are done, be sure to allow it to fully dry. This could take a few minutes, or a few hours. Once it is try, hold the garter over and upside down to see if any of the flowers come loose. If so, be sure to add more glue to secure. Again, let it dry completely.
Store It. Be sure to store your garter when you aren't wearing it in the refrigerator. This will keep it fresher longer. And, help the glue to dry!
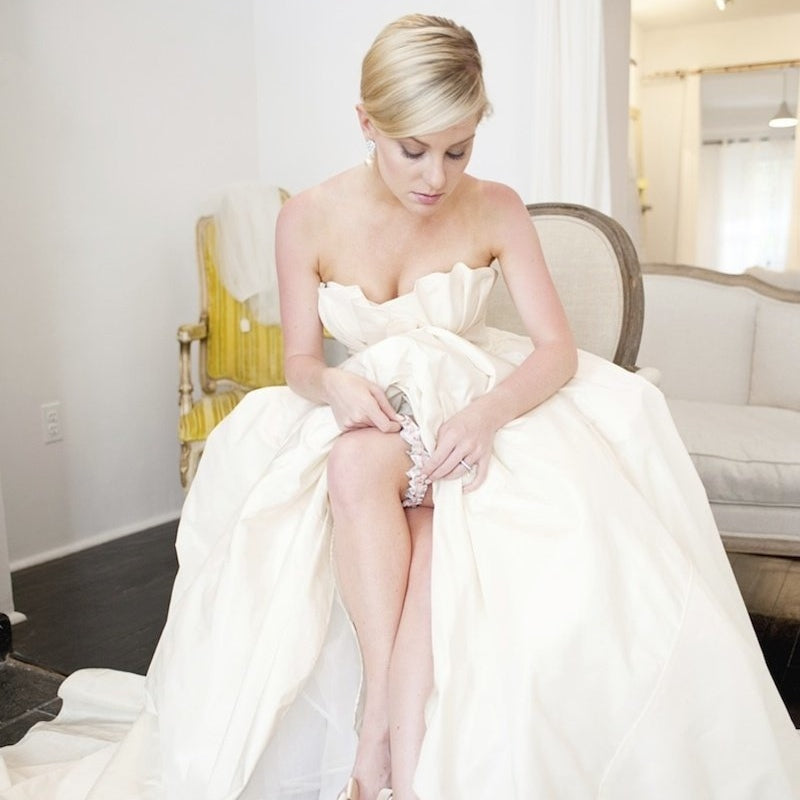
Try It On. To wear your flower garter, put the floral center in front of your thigh at the area where you want to wear it. It recommend either leg and just above the knee where it is comfortable and won't fall down. Tie the base material together in a tight bow or knot in the back of your leg. Trim any extra pieces that hang down.
*******
I love this fresh flower wedding garter project so much! Will you grab a glass of bubbly with your best friends and make one of these DIY wedding garters for your big day?
There are so many flower combinations and ideas, it is so hard to choose just one!
The following wedding vendors helped me to make this DIY project possible and I'm so thankful:
Floral Design: Elegance & Simplicity
Styling: Bellwether Events
Photography: Love Knot Photo
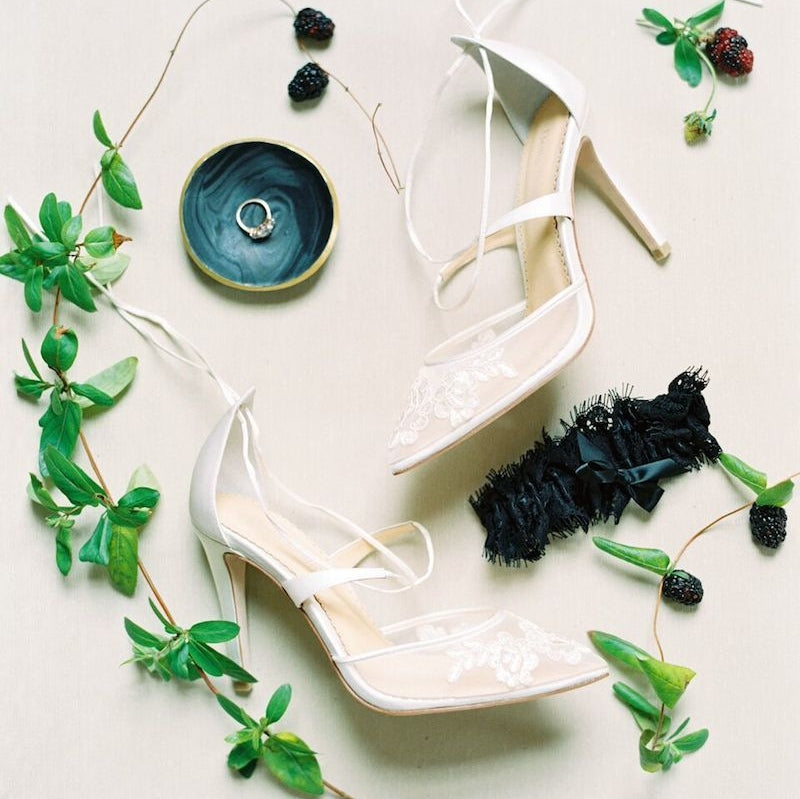
Shoes: Jimmy Choo
Robes: BHLDN
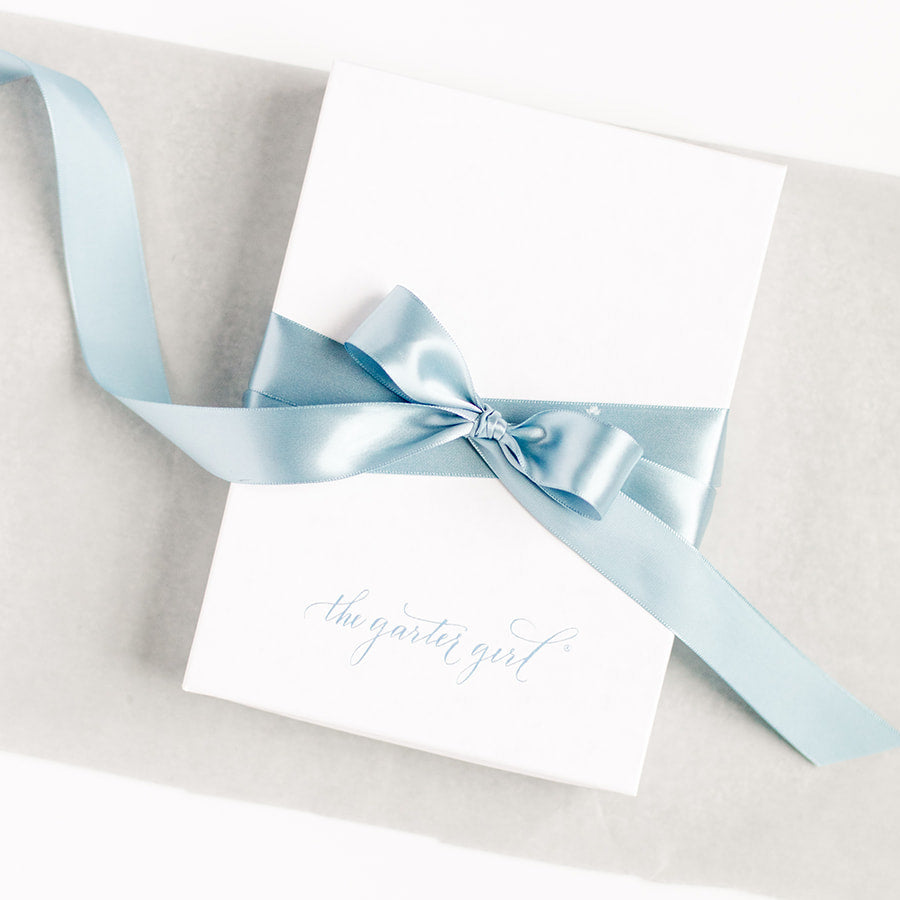
Garter: The Garter Girl
For more wedding ideas and inspiration, be sure to check out my blog and remember that you can shop for a wedding garter anytime on my site.