Your Cart is Empty
Do you have a old or vintage wedding garter in your family, maybe it was your mom’s or your sister’s maybe even your grandmother’s, and you want to wear it on your wedding day? But, something is not right with the family heirloom garter, maybe it is too small, or too big or the most common issue - the elastic is worn out? If you want to know how to fix an old, family wedding garter so that it is perfect for your wedding day, you've come to the right blog post. I'm going to fix all your problems and more!
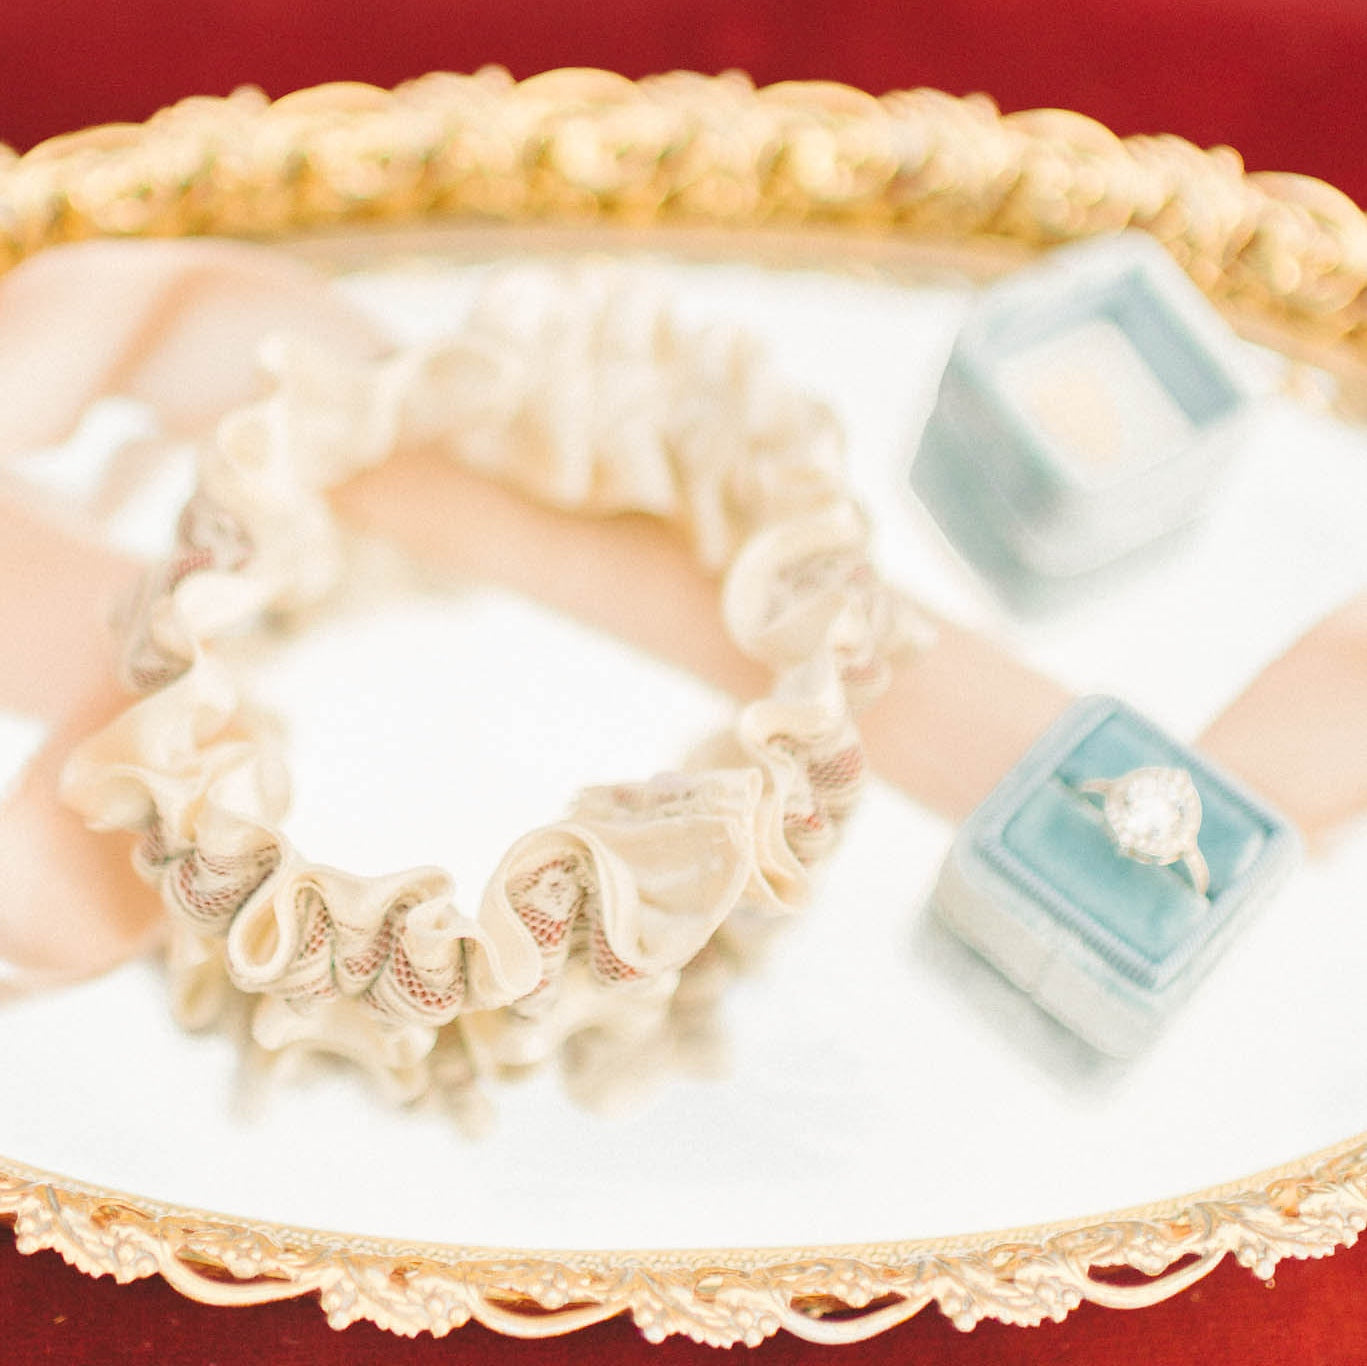
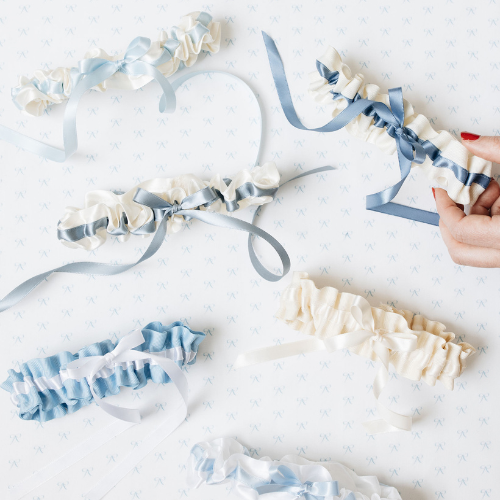
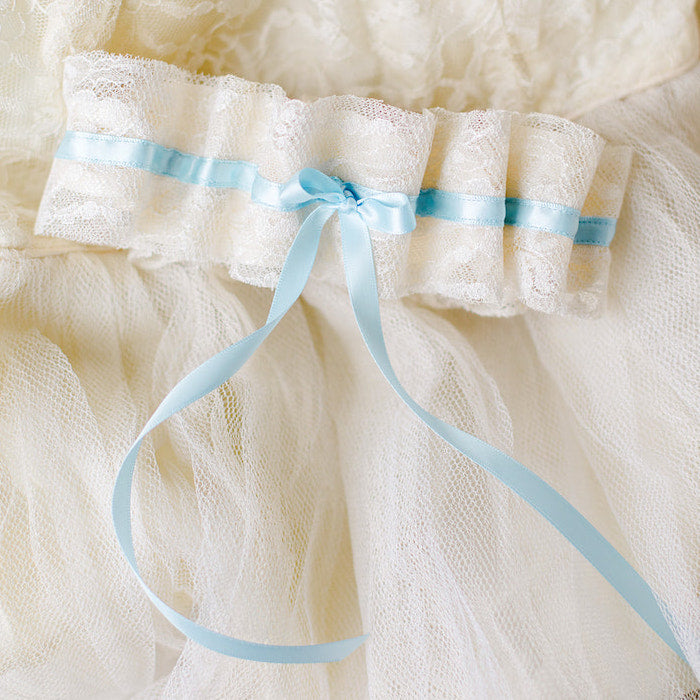
Photo caption: These were the bride's mother's wedding garters that I turned into a new garter for the bride to see. See more of this custom family heirloom garter.
Photo credit: Emily Belson Photography
When it comes to old garters that were passed through generations in families, it usually comes down to two issues: elastic and/or sizing. The good news is that both problems are solvable! I’ll show you exactly how to breathe new life in your vintage garter, so that you can carry on the tradition in your family! And, if you can't fix the garter, you can always wrap it around your bridal bouquet.
In this Garter 101 post - where I talk all things garter advice and how to solve your most common questions - I’m going to give you a few wedding planning tips and some advice for how to make sure that your family wedding garter is ready to go and able to be worn - by you - on your wedding day!
After all, if it is a family garter! You are the next one in your family to get married, it is up to you keep it going through your family, right!? You have to wear it so that you can pass it onto the next bride! I'm here to make sure those traditions stay alive in your family!
Try It On Before Your Wedding Morning
If you do nothing else, do this: Try your family garter on BEFORE the morning of your wedding! You do not want to wait until the last minute on the morning of your wedding to find out that it doesn’t fit or the elastic is worn out. By the time the morning of your wedding rolls around, it is too late to fix it - you’ll have too much other drama to deal with!
All problems are solvable, if you have time! So, don’t wait until the last minute.
Ideally, I’d love for you to try it on as soon as possible after you become engaged. This will give you the most amount of time to fix the family garter or find another solution. If you don’t have the garter in your possession right away, maybe you need to get it from a cousin or something else, it is understandable. Just get it as soon as you can and go from there!
At a minimum, try your family's garter on couple of months before your wedding. With a month or two or three before your wedding, you’ll have time to fix any issues, run to the craft store or send it out to someone like me to fix it. Just give yourself enough time to solve any problems!
The weeks leading up to your wedding, you are going to get busier and busier. The less you have to deal with the week before, or the morning of your wedding, the better for you - and everyone close to you! Trust me, the issues will start piling on and you'll be dealing with so many other last minute issues to deal with, you don't want to deal with a garter that doesn't fit or is broken!
Speaking of, make sure that you get your FREE copy of The Ultimate Bridal Fashion Timeline. This will tell you exactly what to order when - from shoes to lingerie to wedding dresses to honeymoon outfits - so you don't miss out for your big day! The key to stress free wedding planning is planning ahead as much as humanly possible! Get my free bridal fashion guide and you'll be all set when it comes to your wedding day style and more!
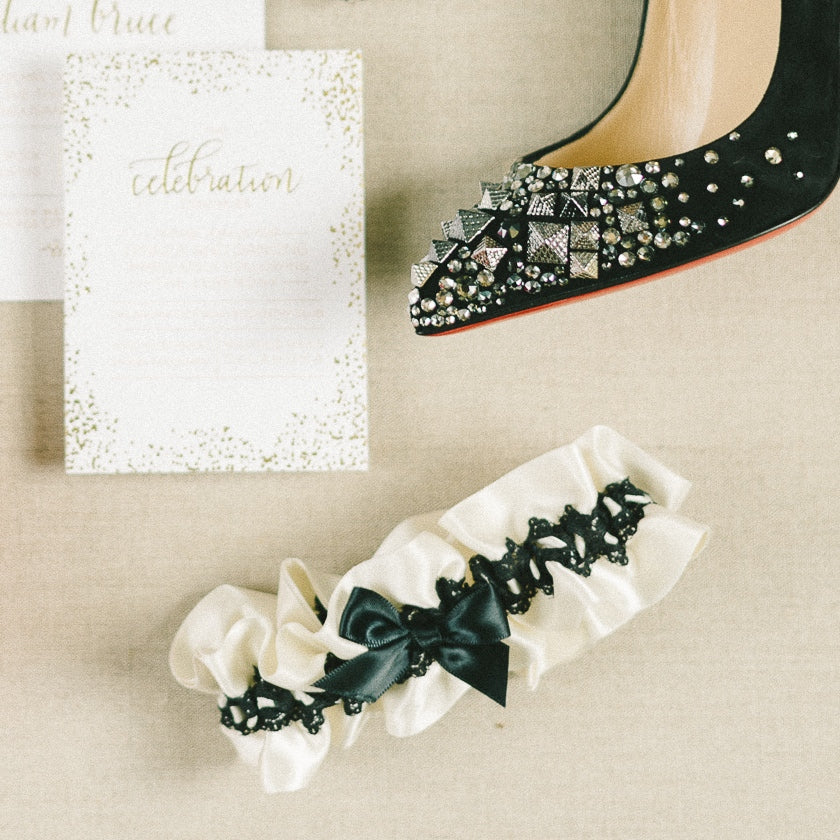
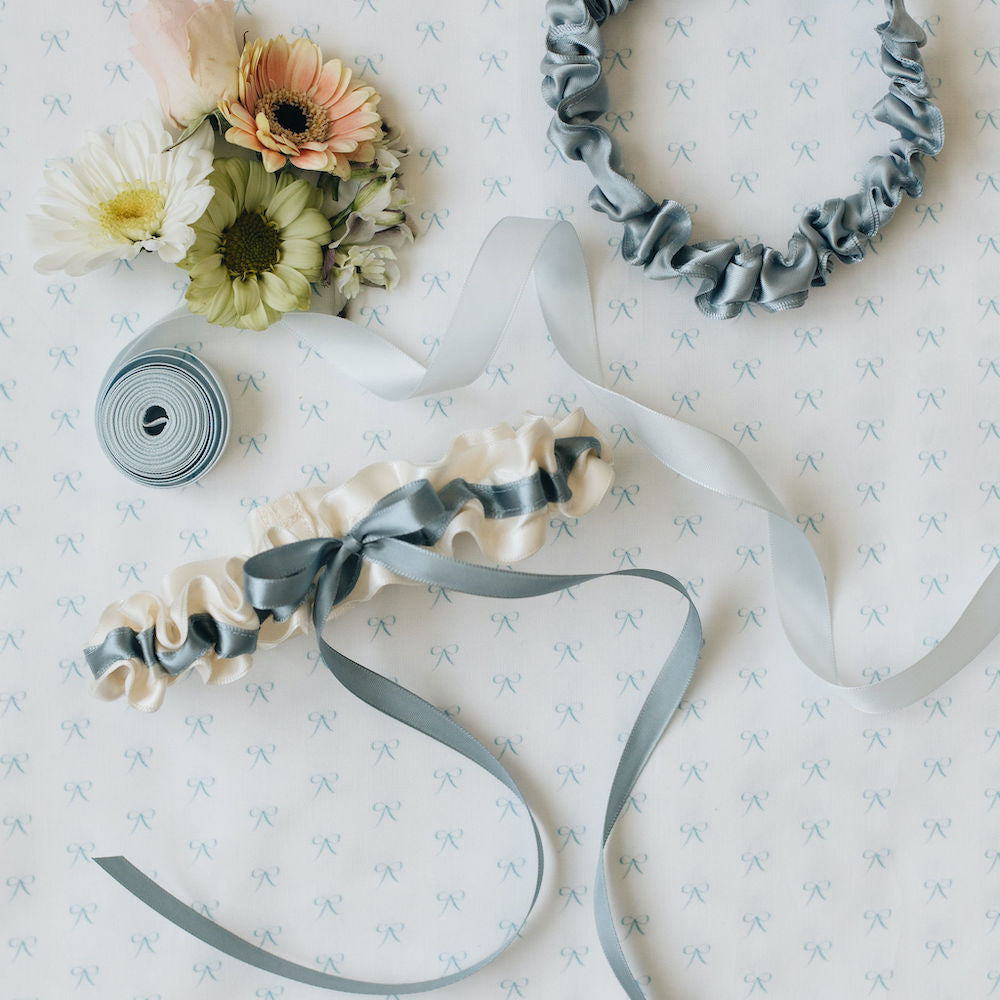
Photo credit: Renee Hollingshead Photography
Replace The Elastic
The number one issue with old or vintage family wedding garters is the elastic. Elastic is just one of those materials that doesn’t last. Even if the elastic was the best quality when it was originally put it, it will not last indefinitely.
Have you ever taken out a pair of socks that you haven’t worn in a while, open them up, pulled them apart to put your foot inside, and then the sock doesn’t spring back? You pull the sock apart and it just stays there? Maybe you hear a crinkling sound as you pull the sock open? It is because the elastic is worn out.
Overtime, elastic doesn’t hold up. It eventually needs to be replaced. We can throw the socks out, but you can’t throw out your family’s garter! I’ll show you how to fix it, don’t worry!
I’ve replaced the elastic in quite a few family garters in my day. I’ve even spruced up a few family garters, by adding new details or new embroidery or adding something from the new bride. You are welcome to get in touch with me about replacing your elastic or fixing up your old garter so that you can wear it again. Simply, email be atinfo@thegartergirl.com and we can chat about fixing your family garter!
How To Replace Garter Elastic
If you want to try to replace the elastic yourself, you can definitely do that! It isn’t as as as you think! Here are some general instructions that would be applicable for most garters. I said most, not all! If your family garter was assembled differently than listed below, please feel free to get in touch with me atinfo@thegartergirl.com and we can discuss options for you!
In the back of the garter, there should be a seam or a place where the garter was sewn together. You’ll need to use small pair of scissors to rip that seam apart. Bonus points if you have a tool called a “seam ripper!” You might need to carefully cut the individual stitches out to release the sides from each other. Start snipping the stitches one-by-one and they should get easier to snip as you go along as the ends start to come apart from each other.
Cutting the stitches out should eventually open up the two pieces or ends of the garter. (Remember, the garter is a circle that was created from sewing the ends of one piece of fabric together.) You should now see a “tube” or “tunnel” in each of the two ends where the elastic was threaded through. You might need to fully snip out the stitches to release the tube and reveal the elastic.
You’ll need to pull out the old elastic from the tube and replace it with new elastic. Generally, woven, non-roll elastic that is ⅝ or event ⅜ inches wide is best for most garters. You can get elastic at any craft store or sewing shop.
Once you replace the elastic, you’ll need to sew up the ends again, just like how it was when you took it apart in the first place. I like to thread the elastic through one end of the tube and sew it to one end, closing the tube on that end. Then, I pull the elastic through to the other end and sew up that end. A large safety pin will help you here with pulling the elastic through and not losing it inside the tube. Once both ends are secure with elastic, then you can sew the ends together, creating your circle or garter.
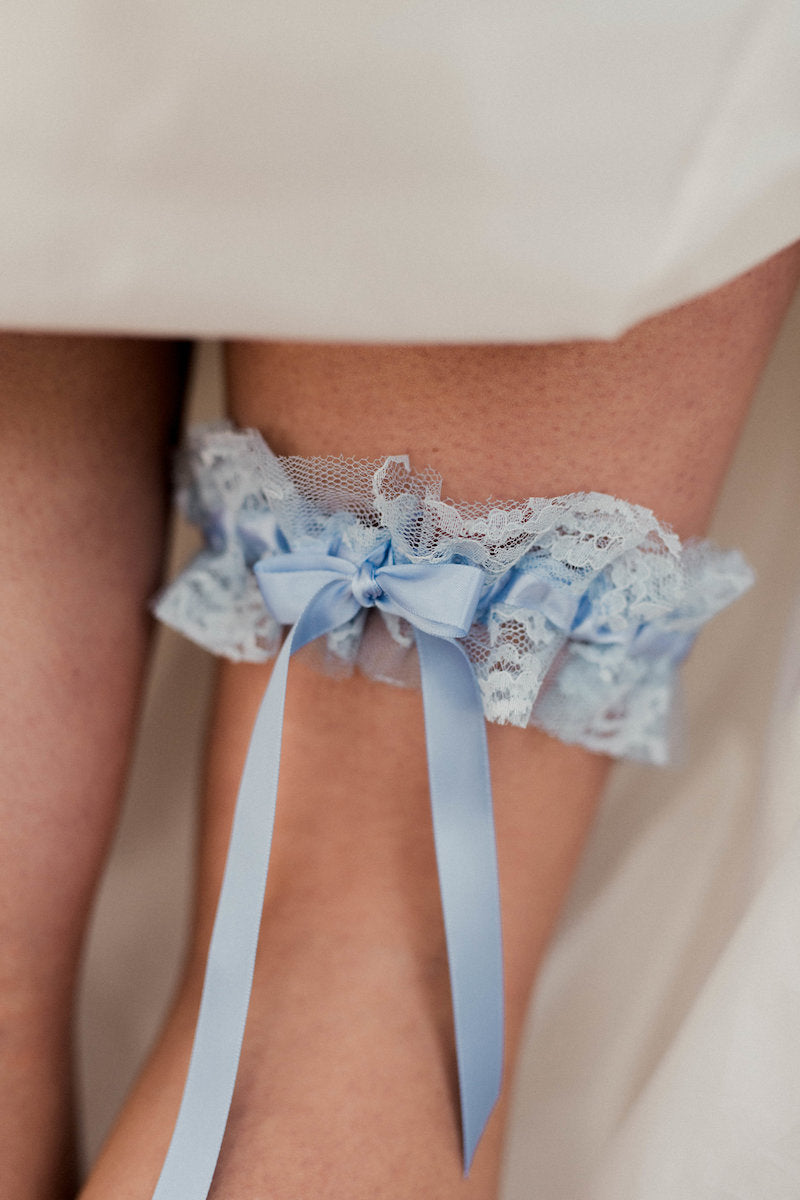
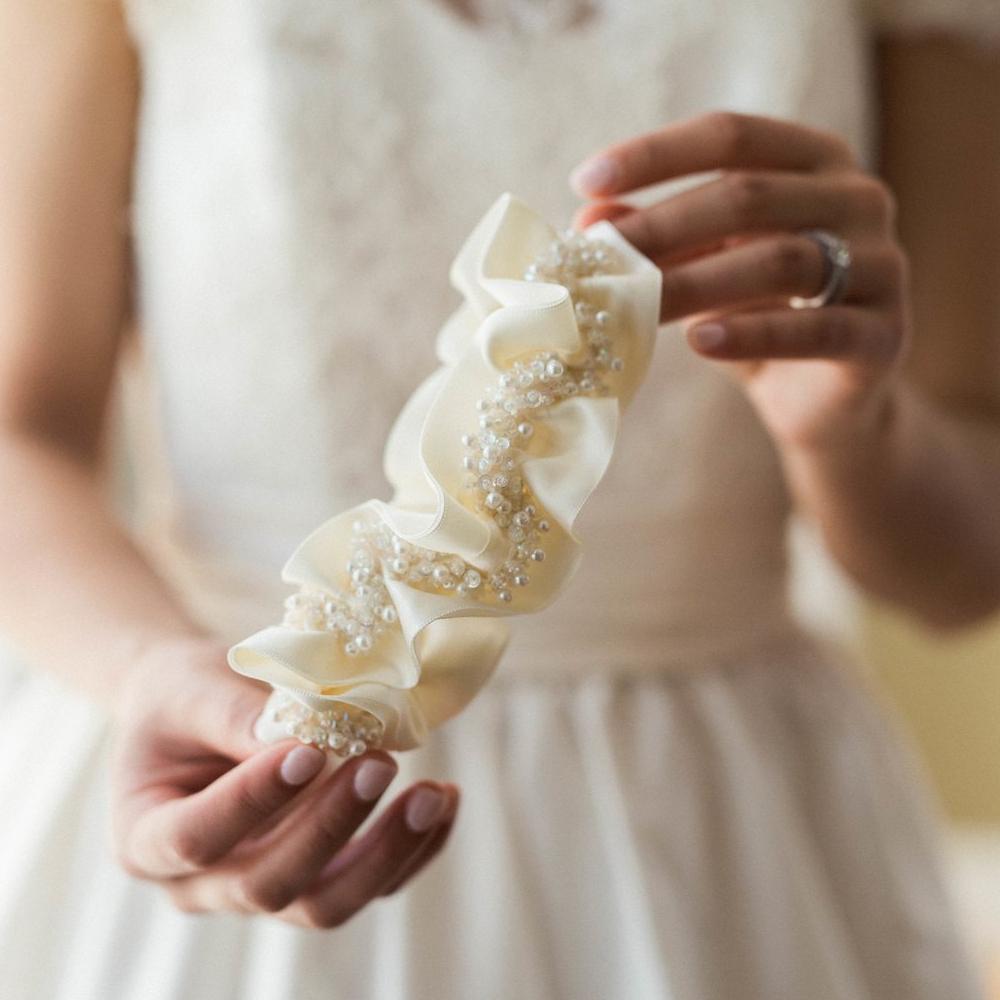
Photo credit: Renee Hollingshead Photography
Sizing, Sizing, Sizing
After the elastic, the second biggest issue with family garters is sizing. Let’s be honest, brides were smaller back in the day than we are today! Have you ever seen pictures of your grandmother, maybe tried on her very, very, very tiny wedding dress? I know that my grandmother was a peanut compared to me! Women were just smaller back then!
If you have to replace the elastic in it anyway, this is a good time to change the size of the old family garter. You can measure yourself and then put a piece of elastic inside the garter that would be a better fit for you. (See above for instructions for how to replace garter elastic.)
When you change the size of the garter to make it bigger, it might not be as “fluffy” or “bunchy” of a garter on you as it was on your grandmother or your great aunt, but at least it will fit and you’ll be keeping that tradition alive and well in your family!
How To Measure
If you need to change the elastic in your garter and/or change the size, you are going to need to know how to measure for the elastic. What I like to do is take a tape measure and measure around where you want to wear your garter.
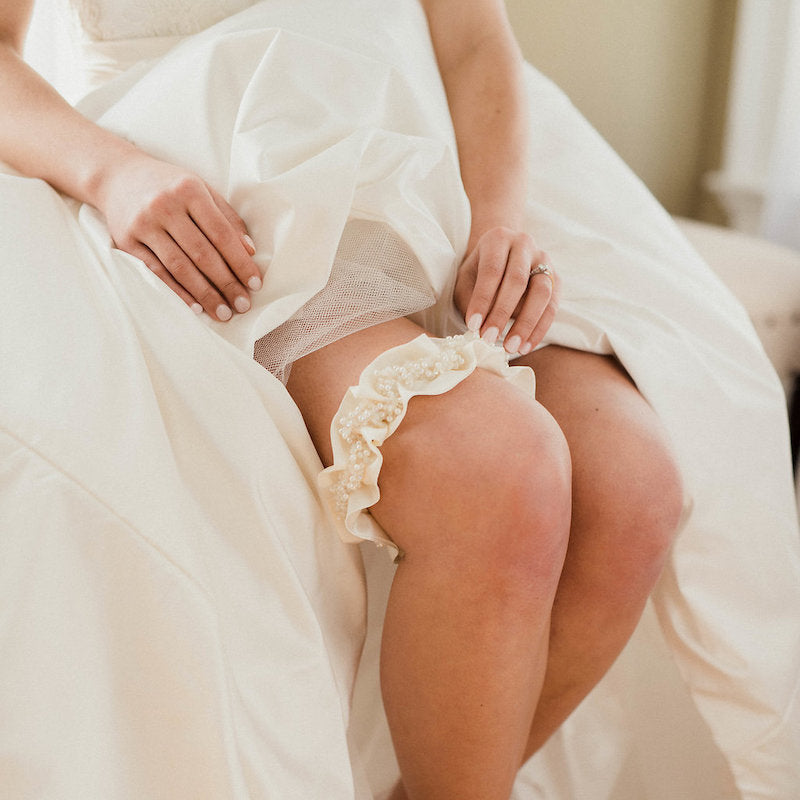
I generally recommend that you wear your garter just above your knee at the narrowest part of your leg. Once the elastic is in place, you can move your garter up or down, depending on what feels good to you at the time. If you don’t have a tape measure, you can use a piece of string or yarn and then put it against a ruler.
This next part takes a little bit of estimation or “eyeballing,” but you can do it! Because it stretches, sewing with elastic isn’t an exact science. Once you have the number in inches of where you want to place or wear your garter on your leg, lay your ruler or tape measure flat on a surface, like a table or counter. Then, take your elastic and stretch it out across the ruler or tape measure until you reach the your size number. Then cut your elastic to this stretched out length. This is the piece that you’ll use to replace the elastic inside of your garter.
Remember to leave a little bit of extra elastic before you cut it, so that you can sew the ends tight and together. I like to leave an extra inch of elastic beyond what I need for sewing.
Let’s say your leg placement number is 22 inches, hold your elastic down on the ruler or tape measure at the 0 inch mark and then stretch out the elastic out until you reach 22 inches. You want the elastic to be slightly stretched with a little bit of “give” to it still, not pulled so tight that it can’t be pulled or stretched anymore. If the elastic is pulled too tight, you will not be able to get it on your leg. It will be uncomfortable and squeeze tight on your leg. Just pull the elastic ever-so gently until there is some stretch, so that it will cinch around your leg, but not leave a mark.
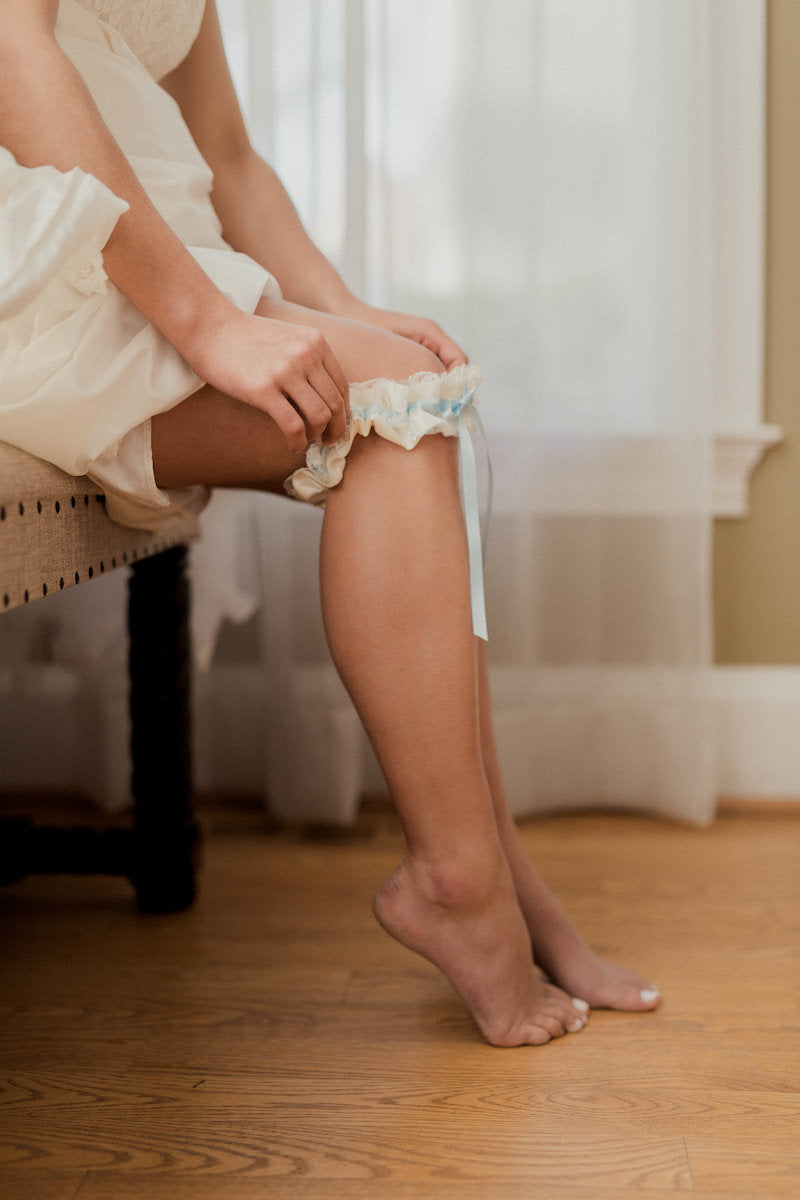
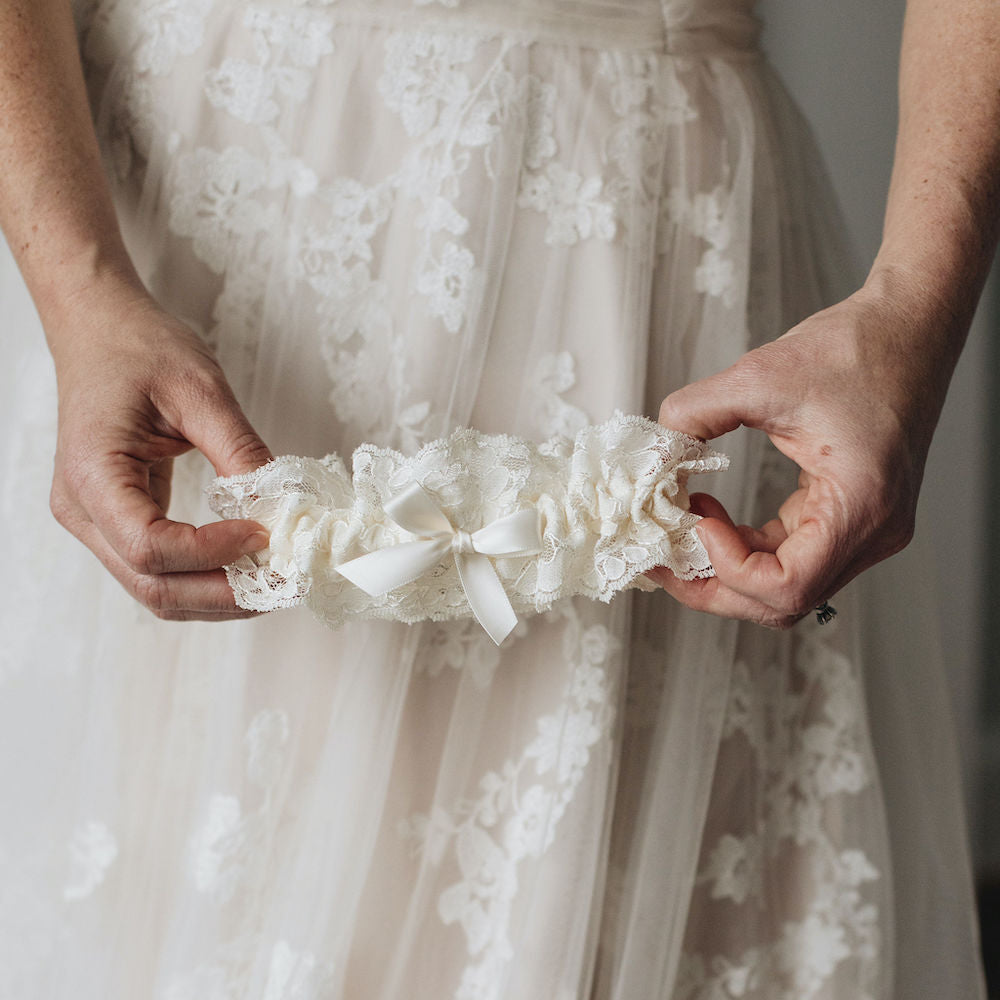
Photo credit: Renee Hollingshead Photography
If You Can’t Fix It
If you can’t fix the family garter, try compromising on the placement on your leg. You can try to wear the garter down lower on your leg so that it might fit you.
Wearing it lower, will give you more space to work with. Maybe it is the pictures, but there is this misconception among brides that you need to wear your garter so high up your leg and that’s not the case! Wear your garter as low as possible. Low is better for comfort too! (and it will be easier to find if you decide to do the garter toss!)
Good To Know
If the garter is really dirty or yellow, you can clean it. BUT, only clean it, if it is visibly dirty, very yellow or was stored in a spot where you know it was collecting dust.
To clean an old or vintage garter, simply soak it in cold water. If it is really dirty or yellow, you may use a little mild or delicate detergent in the cold water soak. When it is finished soaking, lay it flat to air dry.
You can usually take the old garter's yellow down a few shades, and take out any mild stains, but you will never get it is 100 percent clean or looking bright way. It is old and that's the beauty of it!
Bouquet Wrap
If you simply can’t fix the family garter, you can always wrap it around your bridal bouquet. This way, you’ll have it with you on your wedding day, it will still walk down the aisle with you! You might not wear it on your leg, but you get the points or the credit for having it with you on the wedding day! It counts in my book!
By wrapping it around your bouquet, the garter will be in tact so that you can pass it on through your family and keep the tradition going!
******
So, that's it! Those are my bestest tips on how to fix your old vintage family wedding garter. Do you have a garter in your family that needs a little TLC before your big day?? Get in touch with me and let me know! Even if I don't fix it for you, I'd still love to see it! You know I'm a lover of all things wedding garter - especially when they involve family traditions!
Remmeber, you can shop online anytime in my garter shop or find more wedding garter advice in my garter 101 blog series or find loads of practical wedding planning advice here on my blog too!
Lastly, don't forget to get your FREE copy of The Ultimate Bridal Fashion Timeline.I don't want you to be stressed on your wedding day and this bridal fashion guide will help you to look good and feel good! Stress-free to the most beautiful outfit any bride can wear!