Your Cart is Empty
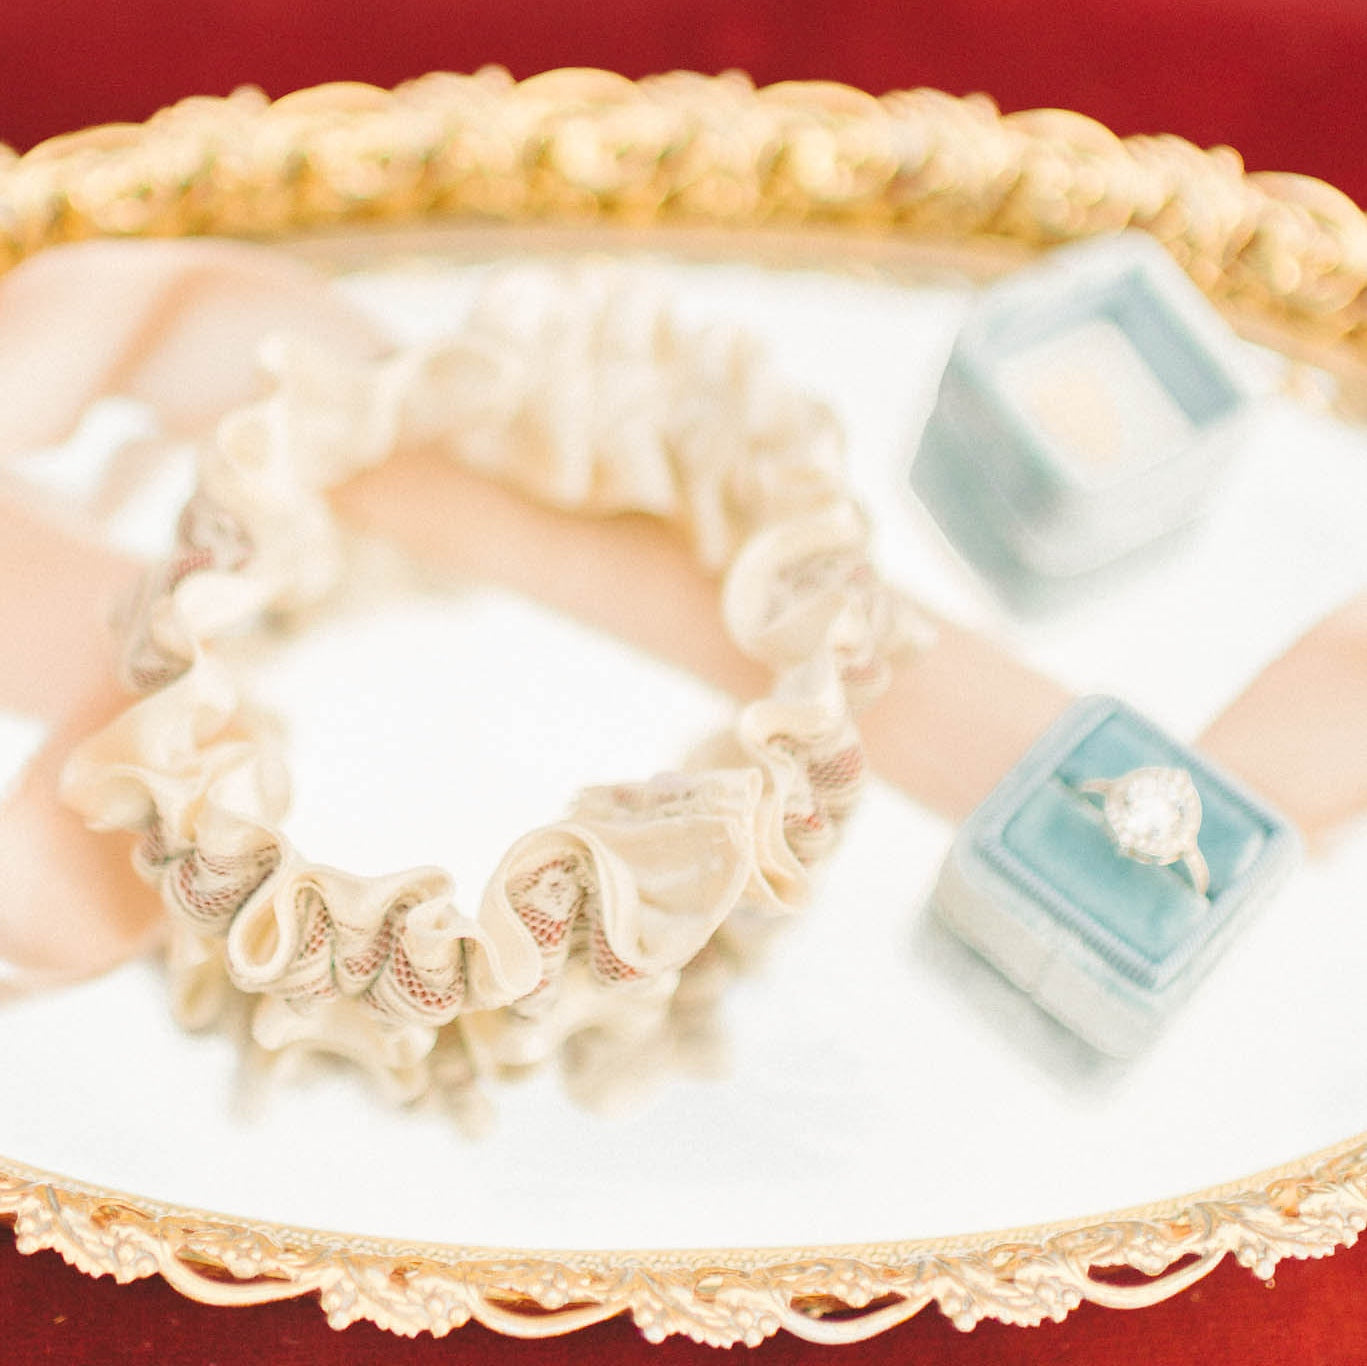
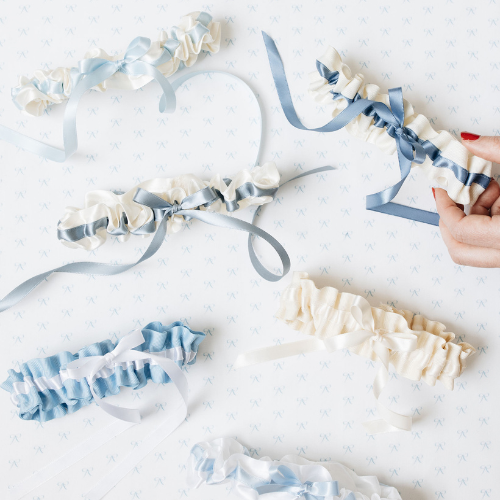
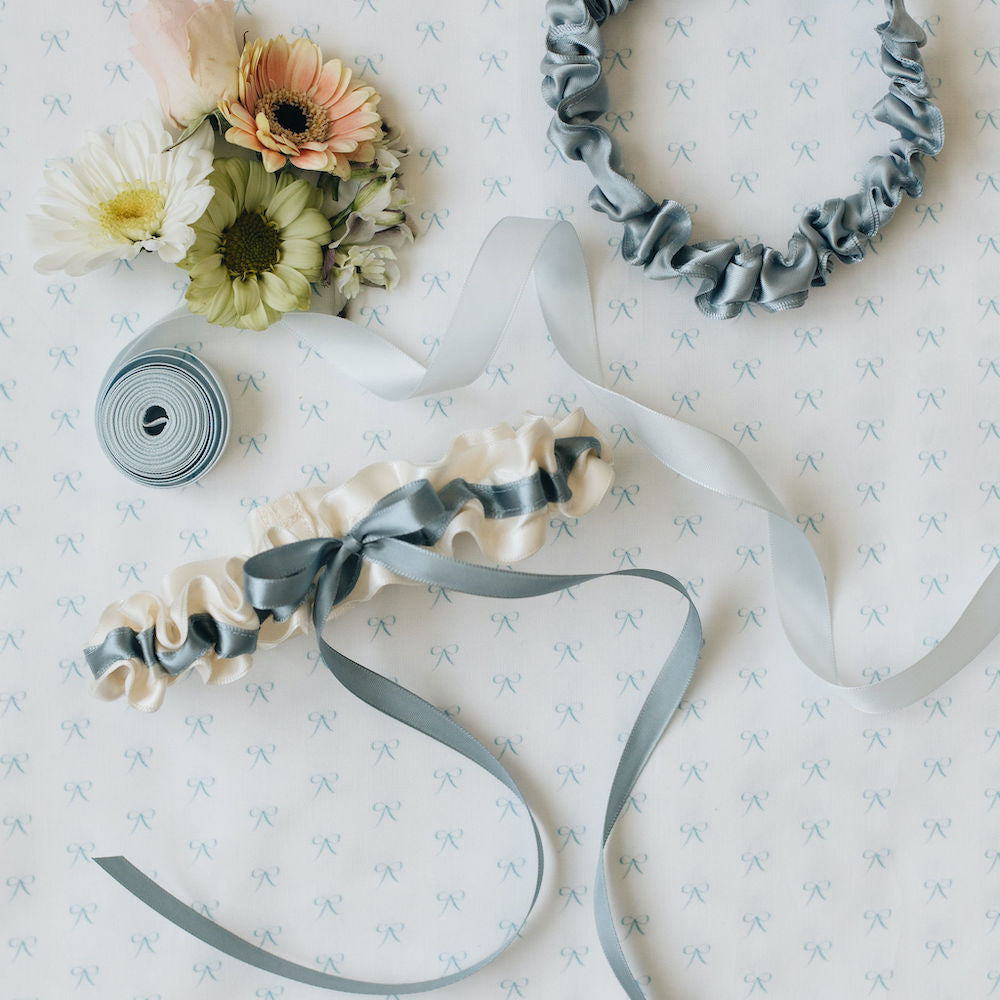
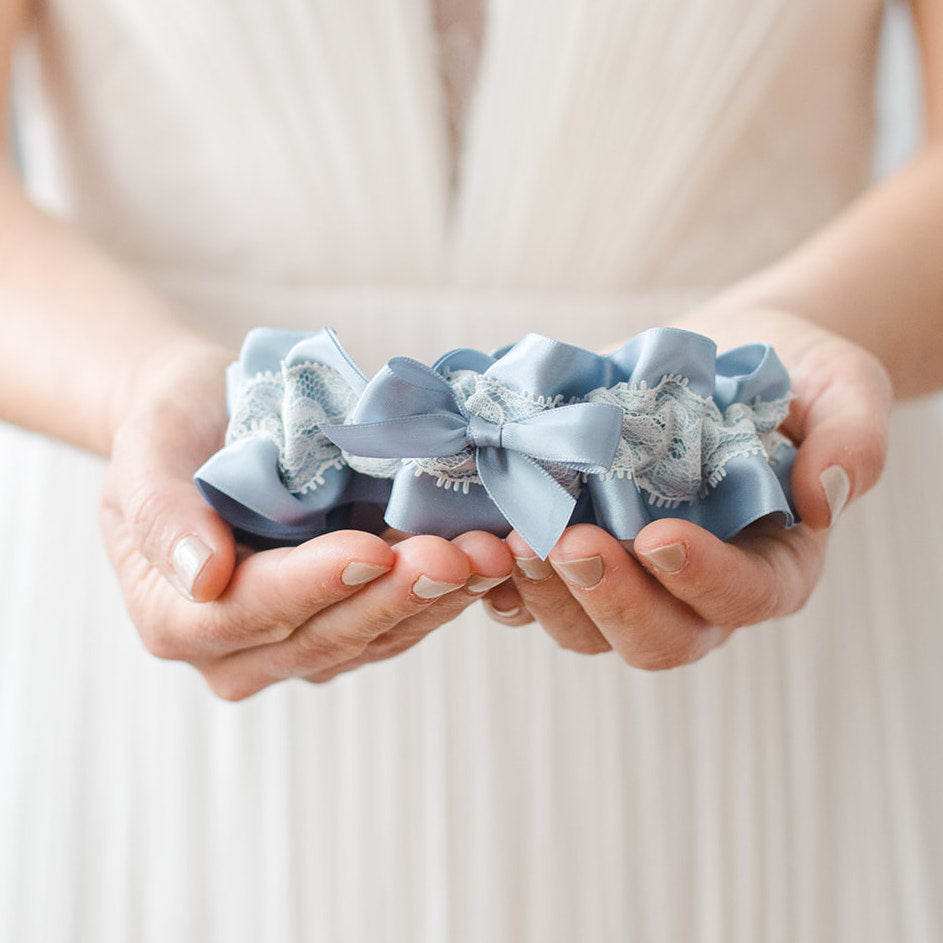
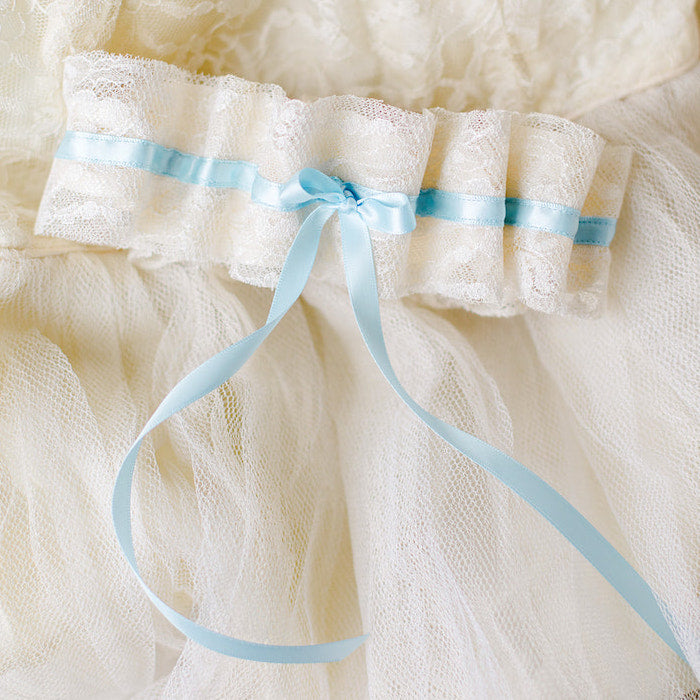
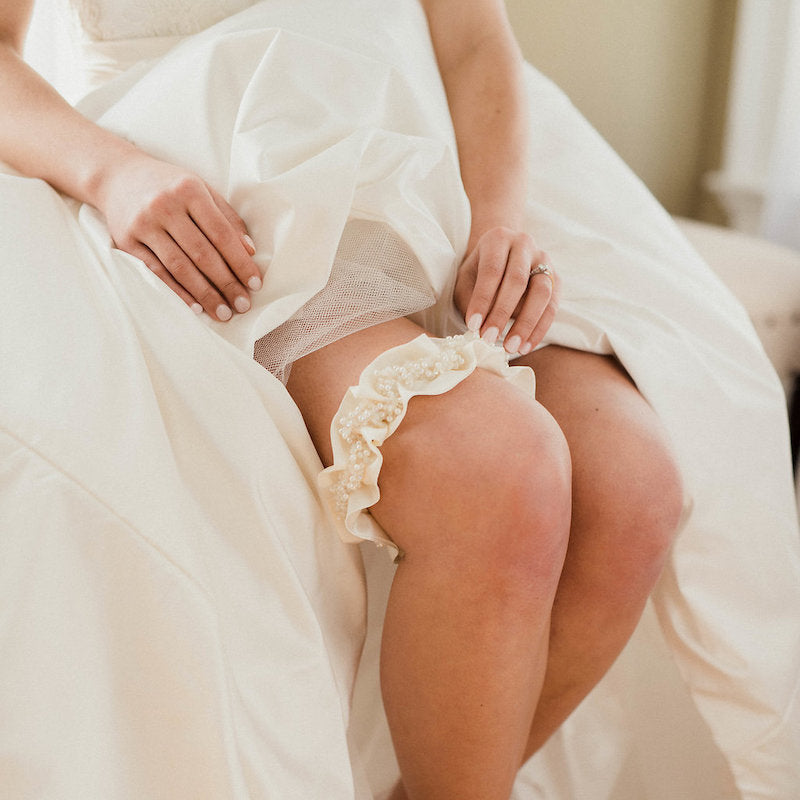
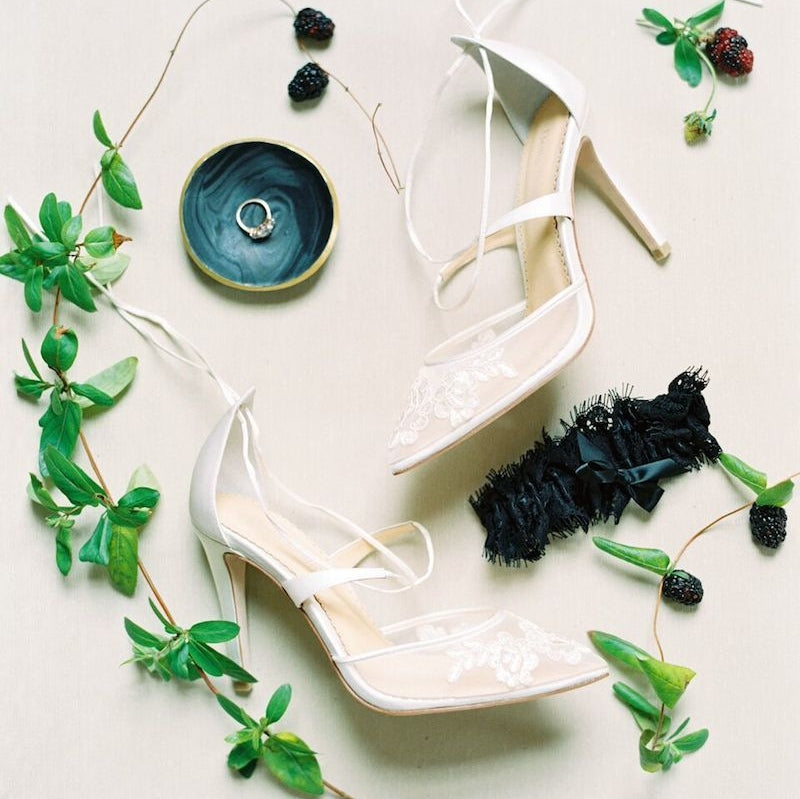
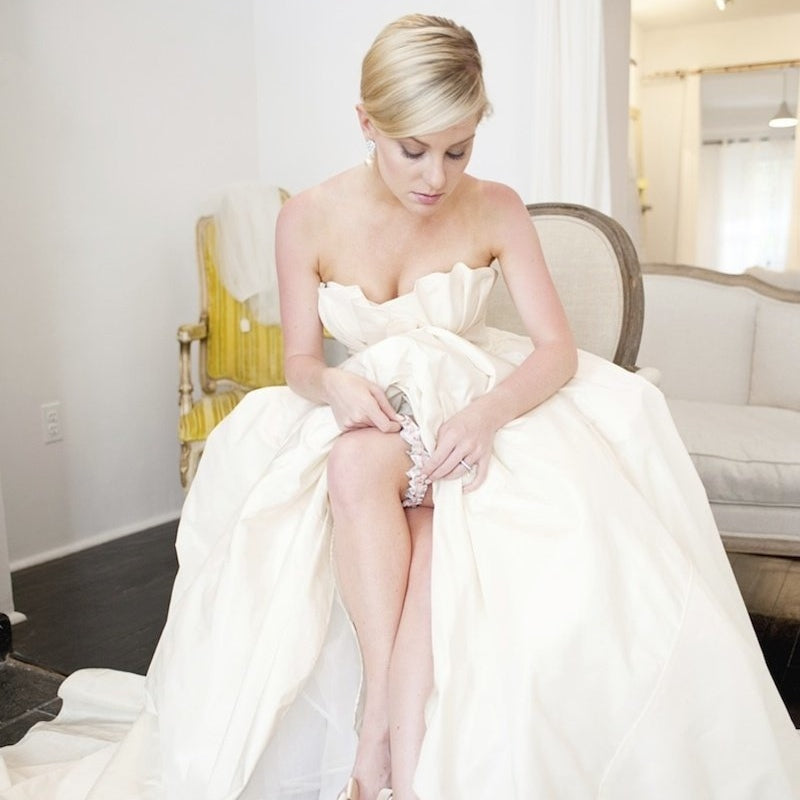
This summer, I entered a wedding blog contest hosted by Elizabeth Anne Designsand The Sweetest Occasion. I did a stylish bridal lingerie photo shoot and one of the elements that I put together for the shoot was a do-it-yourself hanger cover. This is DIY hanger cover can be personalized and used by a bride to hang her wedding dress. I've always thought that wedding dress pictures look great with pretty hangers! In this photo shoot, I used the hanger to display the something blue bridal lingerie…


Here are the directions for the DIY hanger cover. Have fun because this pattern can be personalized in a million different ways!
DIY Fabric Hanger Cover
by Julianne Smith
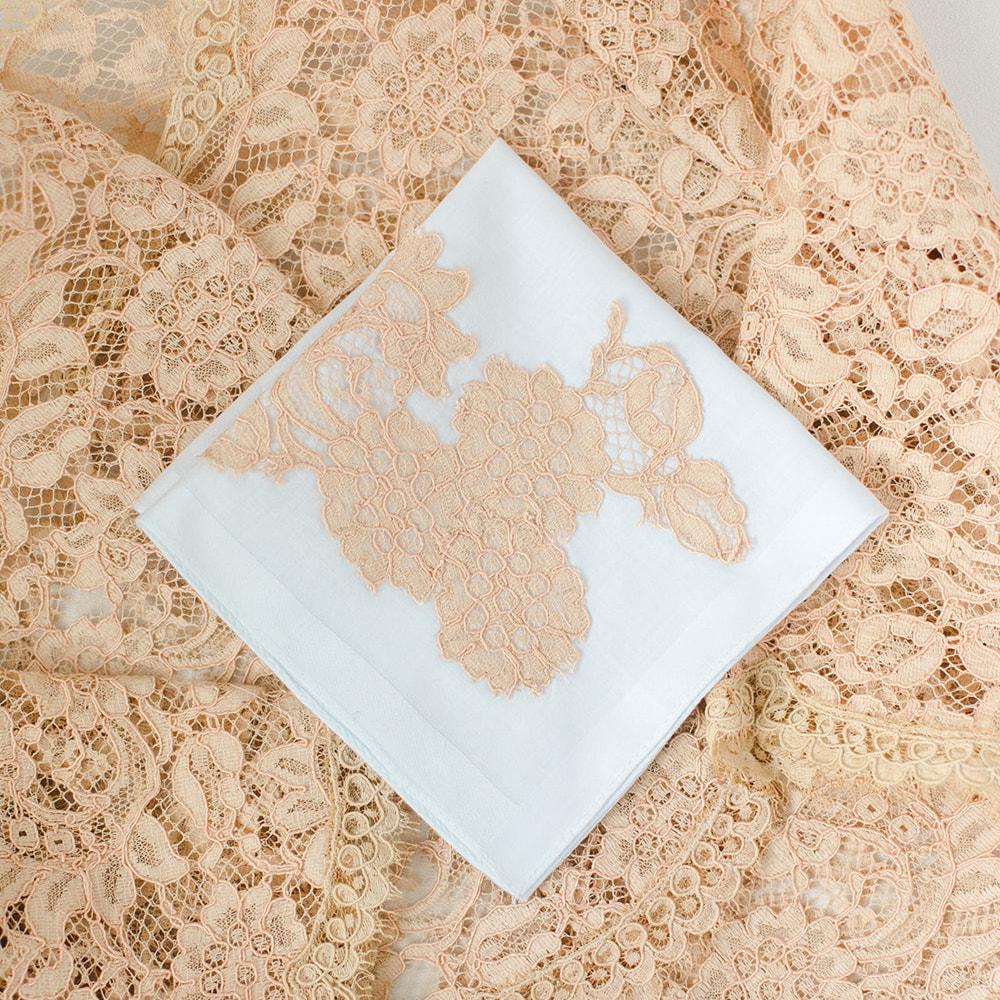
This pattern requires a basic understanding of sewing and embroidery. The hanger cover can be sewn entirely by hand, instead of on a sewing machine. The fabric, trim and embroidery can be substituted to get the desired look and feel. The following directions are for the white lace embroidered "hers" hanger cover as pictured in the photo shoot above…
Materials:
Hanger
Fabric
Scissors
Embroidery floss + needle
Pencil
Sewing machine + thread
Lace trim
Computer + printer
Instructions:
1.) Using pencil, trace outline of hanger onto wrong side of fabric to make a pattern. Cut out two matching hanger outline pattern pieces, allowing at least a 1/4 inch edge (for sewing) around pencil marks.
2.) On the right side of the fabric, sew lace trim separately onto bottom of each pattern piece.
3.) Line pattern pieces up with the right sides of the fabric together. Using machine, sew the pattern pieces together along the pencil marked outline. Leave unsewn the entire lace trimmed bottom, and a small hole at the exact center in the top for the hanger to poke through.
4.) Turn sewn pattern pieces right side out to reveal cover. Slip cover over hanger via the top hanger hook.
To add embroidery:
1.) Using computer, print "hers" onto a piece of paper in preferred size and font.
2.) Using pencil, lightly trace "hers" onto right side of fabric.
3.) Using embroidery floss and needle, use "running stitch" embroidery stitch to sew over the pencil marks.
All photos in this post are credited to Studio Juno.