
This isn't technically a wedding garter, but it did call into question my sewing skills. I felt a little pressure to get my daughter's Halloween costume done early this year because of this weekend's Boo at the Zoo. I'm typically a last-minute-up-all-night type of a girl, but this year I took my own advice, planned ahead and it led to a great costume. Funny how that works out!
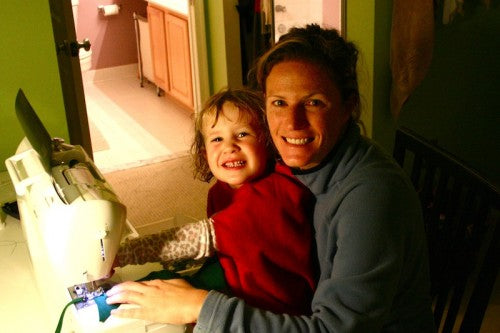
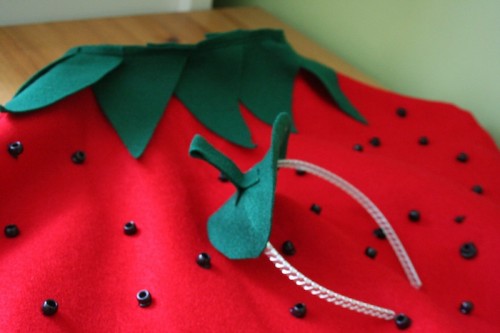
My daughter told me she wanted to be a strawberry for Halloween. I let the idea fester for a few weeks, just to make sure that was what she really wanted! We had alot of fun doing it together. She went with me to the store to pick out the materials (Well, the materials I didn't steal from my mom's stash!), she had fun sewing with me (She likes to press the buttons!) and she glued the black seeds on all by herself. Here are the pictures, plus my directions, if you are looking for a great, kids Halloween costume. Enjoy!
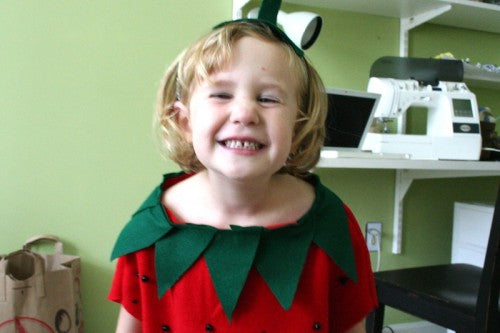


Child's Strawberry Halloween Costume
By: Julianne Smith
Skill: Intermediate
Materials:
- Red and green felt
- Red and green thread for sewing
- Headband
- Glue
- Scissors
- Pins
- Sewing machine
- Black beads
- Black puffy paint
Directions:
- Measure the child from the top of the shoulders to the floor, double that number and that is the length of the red felt you'll need. Have the child spread their arms out and measure from elbow to elbow. That is the width of the red felt that you'll need. My piece was approximately 21 inches wide by 56 inches long.
- Fold the red felt in half. Cut a straight line along the fold in the middle of the fold. This is the head hole, so it should be big enough for the child to put their head through. Put the red felt on the child with their head through the hole, so that the felt is evenly draping over the front and back.

- With the child's arms down, measure two inches from the neck hole and start pining a diagonal line to the outside edge of the red felt. Repeat on the other side. These will form the shoulders. (This is the wrong side of the felt.)
- With the child's arms stretched out, start comfortably below the arm pit and pin down along the side stopping at the knee. Repeat on the other side. This will form the side seam.
- Take the red felt off the child. With matching red thread, sew along the four pinned seams. Trim the excess felt along the diagonal shoulder seam. Turn the felt right side out.
- With the green felt, cut triangles to form the neckline. Cut as many as needed for the neckline. I cut 10 triangles that were approximately 5 inches by 5 inches by 4.5 inches.
- Lay the triangles overlapping around the neckline. Pin the triangles to the red as you place them.
- With matching green thread, sew around the entire neckline close to the neck opening securing the triangles to the red felt. Remove the pins as you sew.

- Lay the costume out and on both the front and the back, cut a semi-circle edge along the bottom from one side seam to the other. Fold the costume in half to create a more uniform semi-circle.
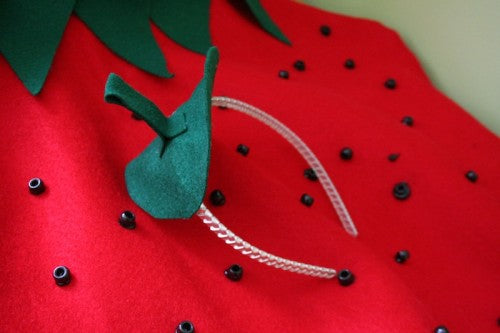
- Lay the entire costume out on a flat surface. With the black puffy paint, dot paint in a random pattern to form the seeds. If desired, you can place black beads on top of the puffy paint.
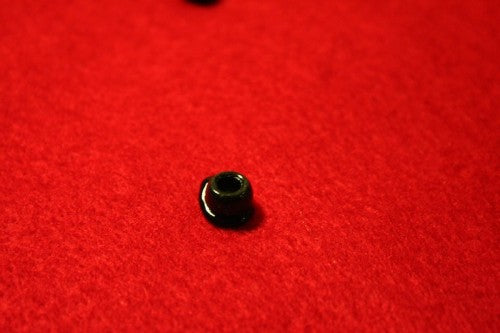

- Once the first side is dry, flip the costume over and repeat the paint to form seeds.
- For the head piece, cut a circle and a small rectangle out of green felt. Glue the circle to the headband. Fold the rectangle in half and glue leaving a 1/2 tail without glue on either side. Flare the 1/2 inch sides out and glue to the circle on the headband to form the stem.


Happy Halloween! Hope you enjoy this pattern! For some of my other DIY projects and patterns, be sure to check out here.